🎨 DIY Marker Storage – Build your own Marker Organizer!
🎨 New Palette
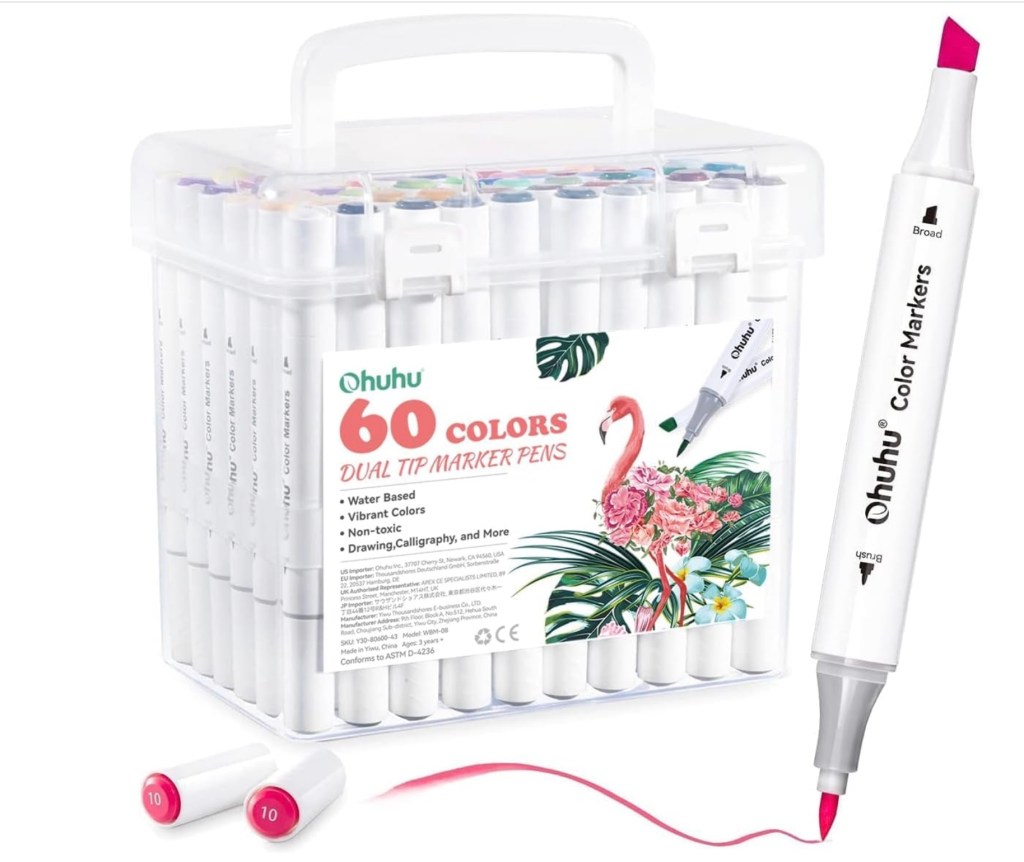
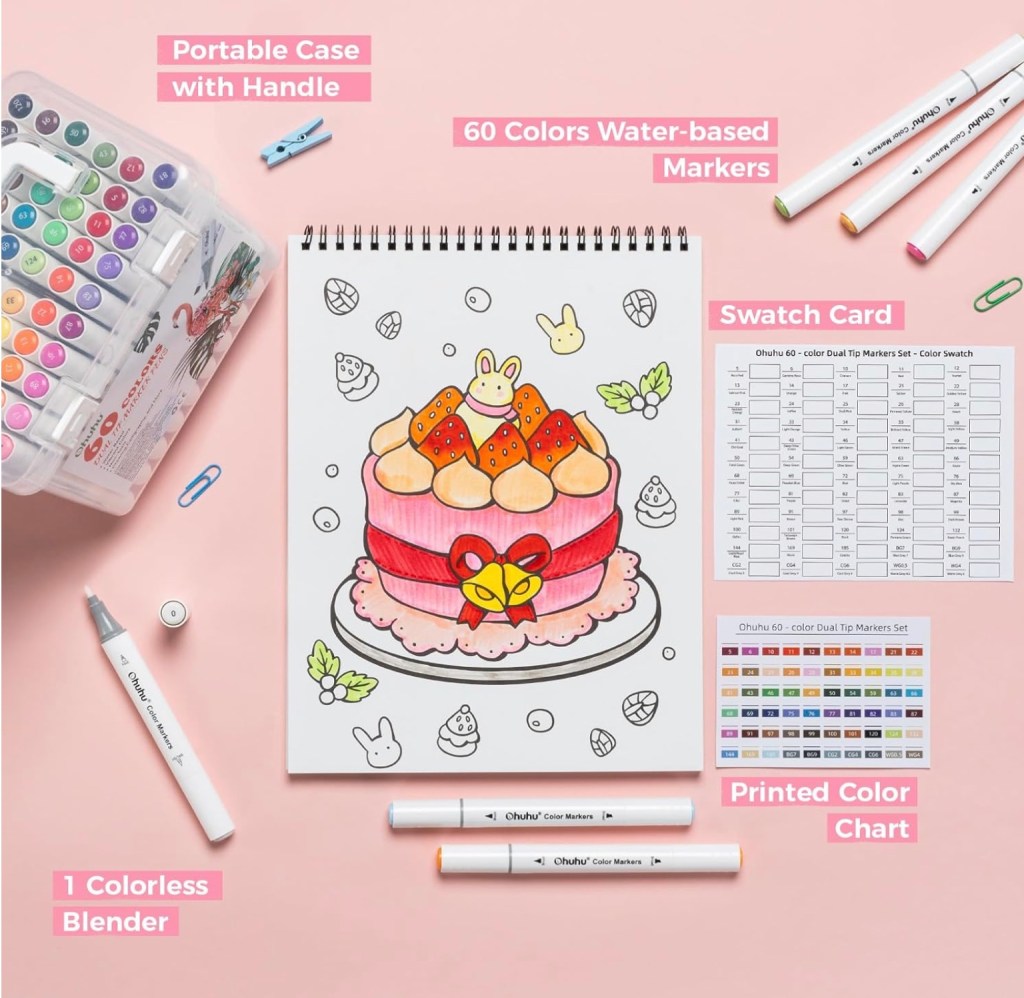
I recently purchased my first set of artist markers. I’ve been working with coloured pencils for years — they’ve always been my favourite medium for colouring— but markers have their own charm. I love how they fill a page with colour. It’s different from pencils and there’s a little learning curve for me. I have to confess: I’m impressed with my new markers!
Before buying, I did some research. Markers are made of plastic and don’t last as long as pencils, which can stay in great condition for decades. Considering that, I decided to invest in quality. I chose markers with refillable inks and replaceable tips — a more sustainable choice that lets me enjoy colouring without creating unnecessary waste.
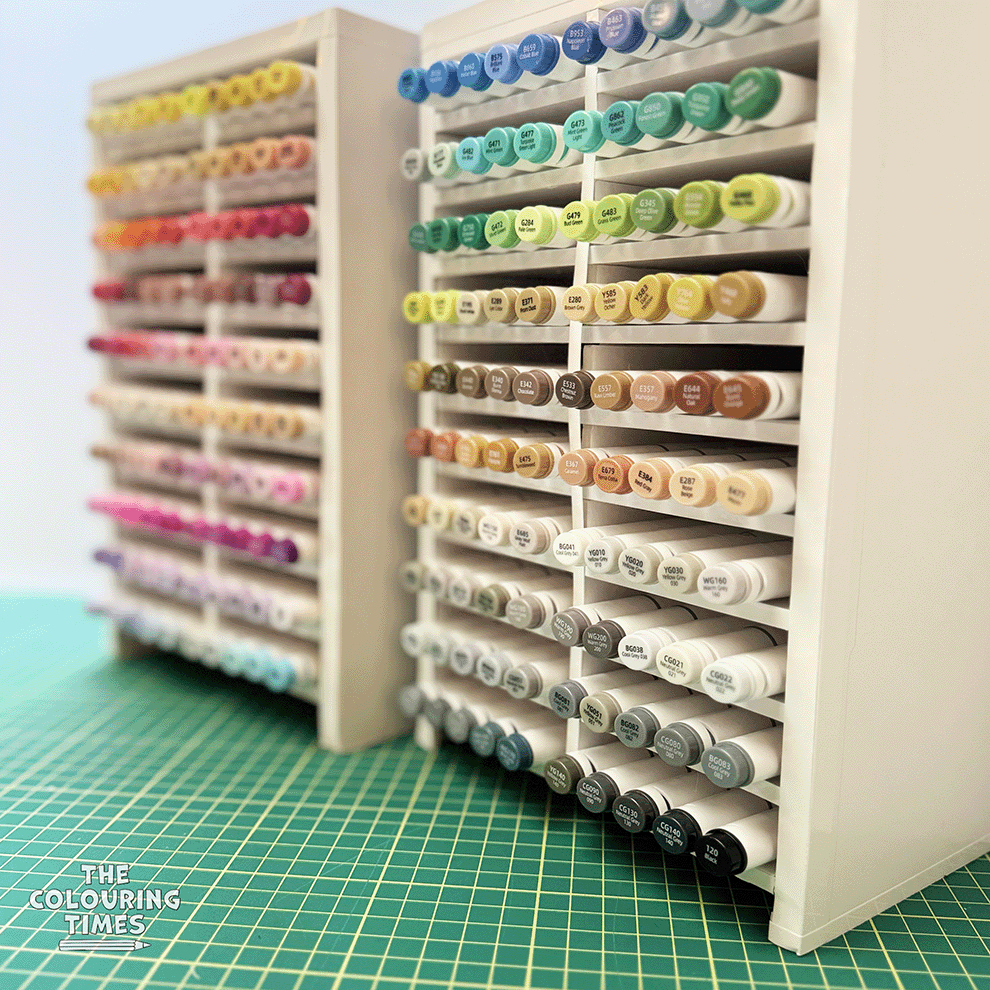
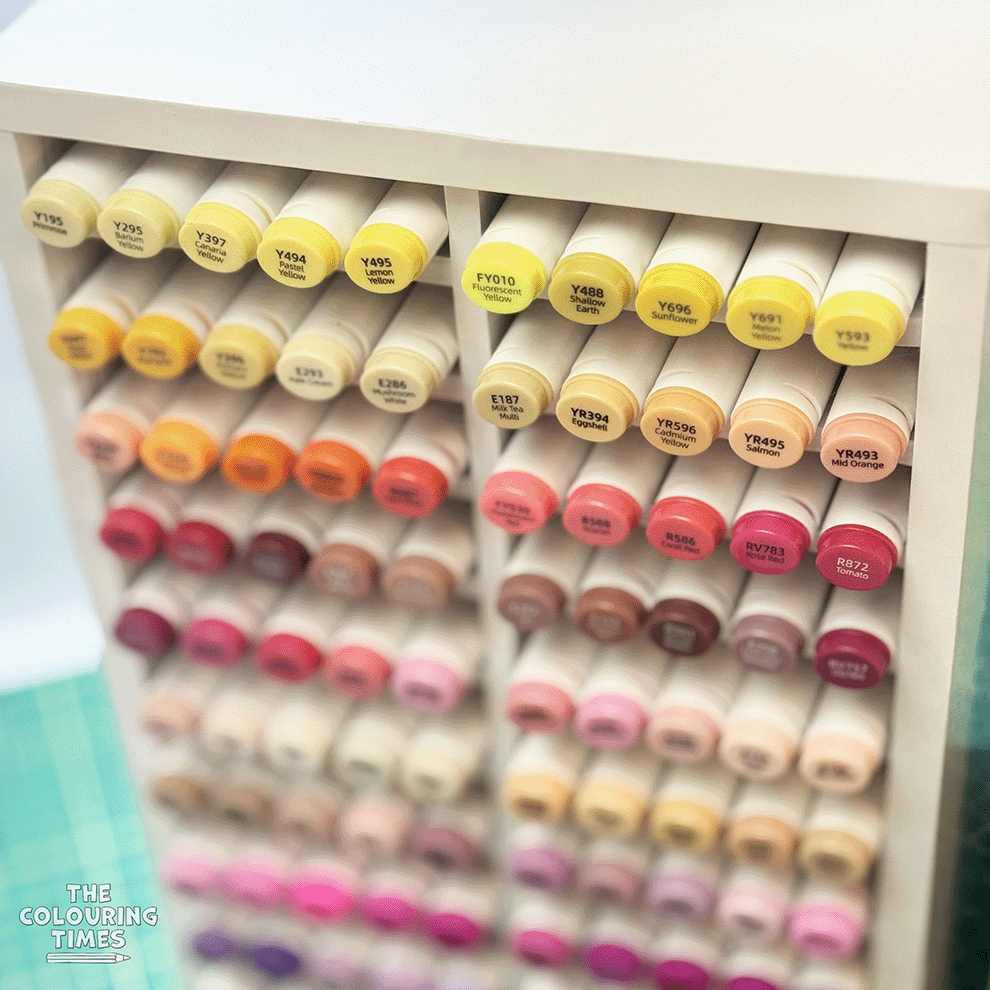
I’m very happy with my new 200 Ohuhu Oahu Marker Set — I absolutely love it! My only problem now is finding enough time to colour with them!
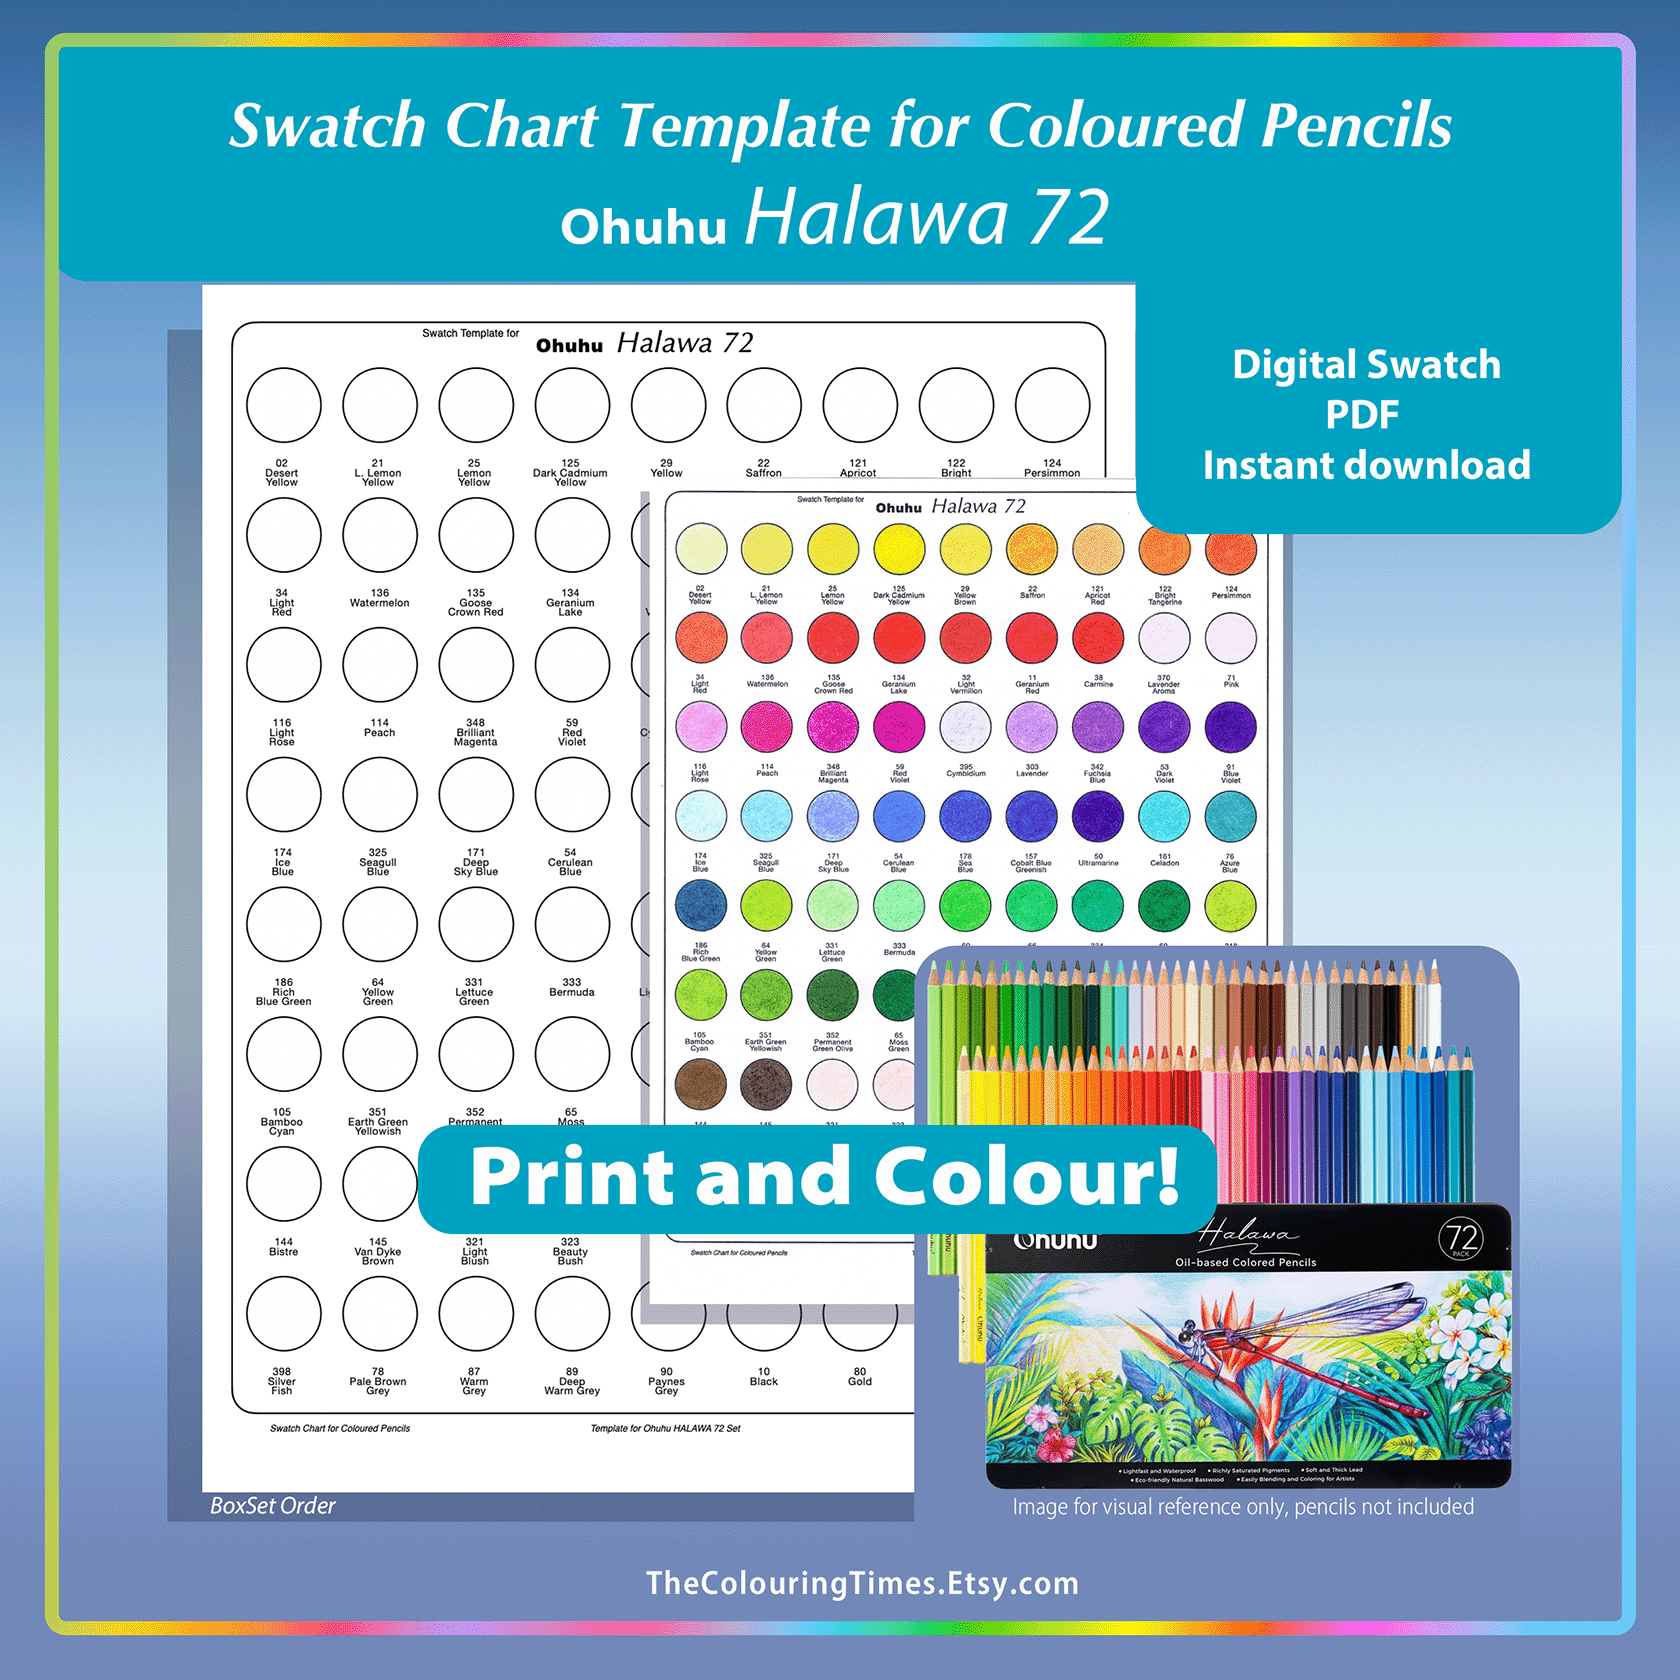
🎨 New Colour Swatch
The thing is… I just adore Colour Charts! They’re like a visual map of the medium I’m working with, helping me to make the best choices when selecting tones and combinations.
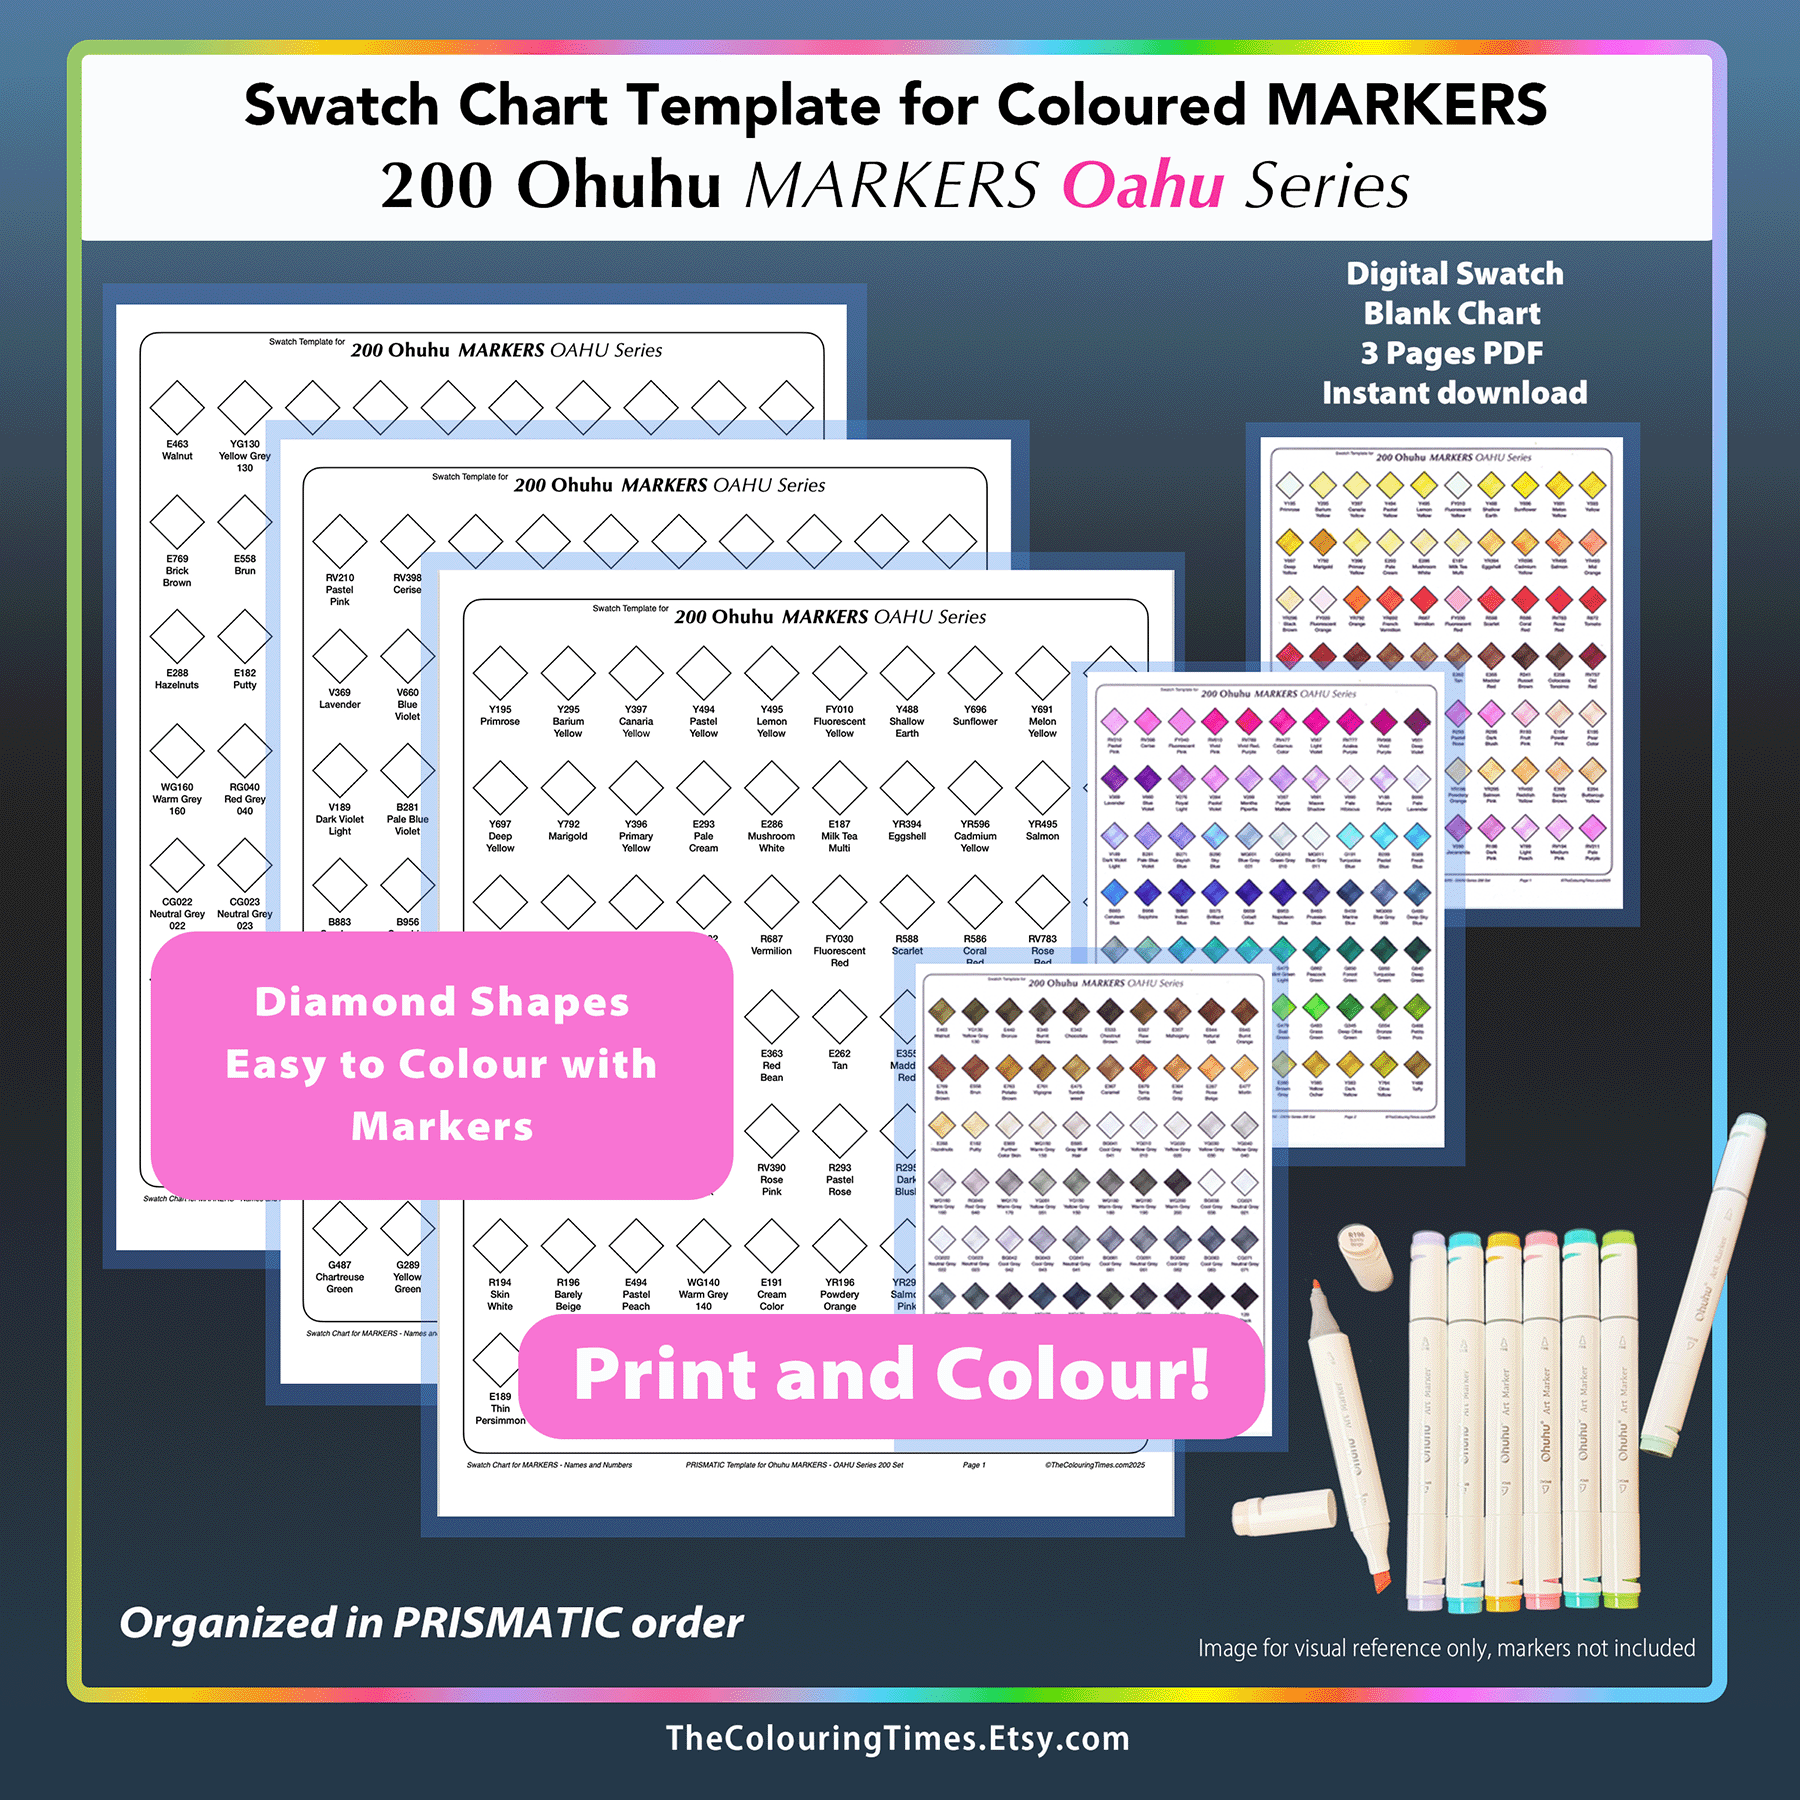
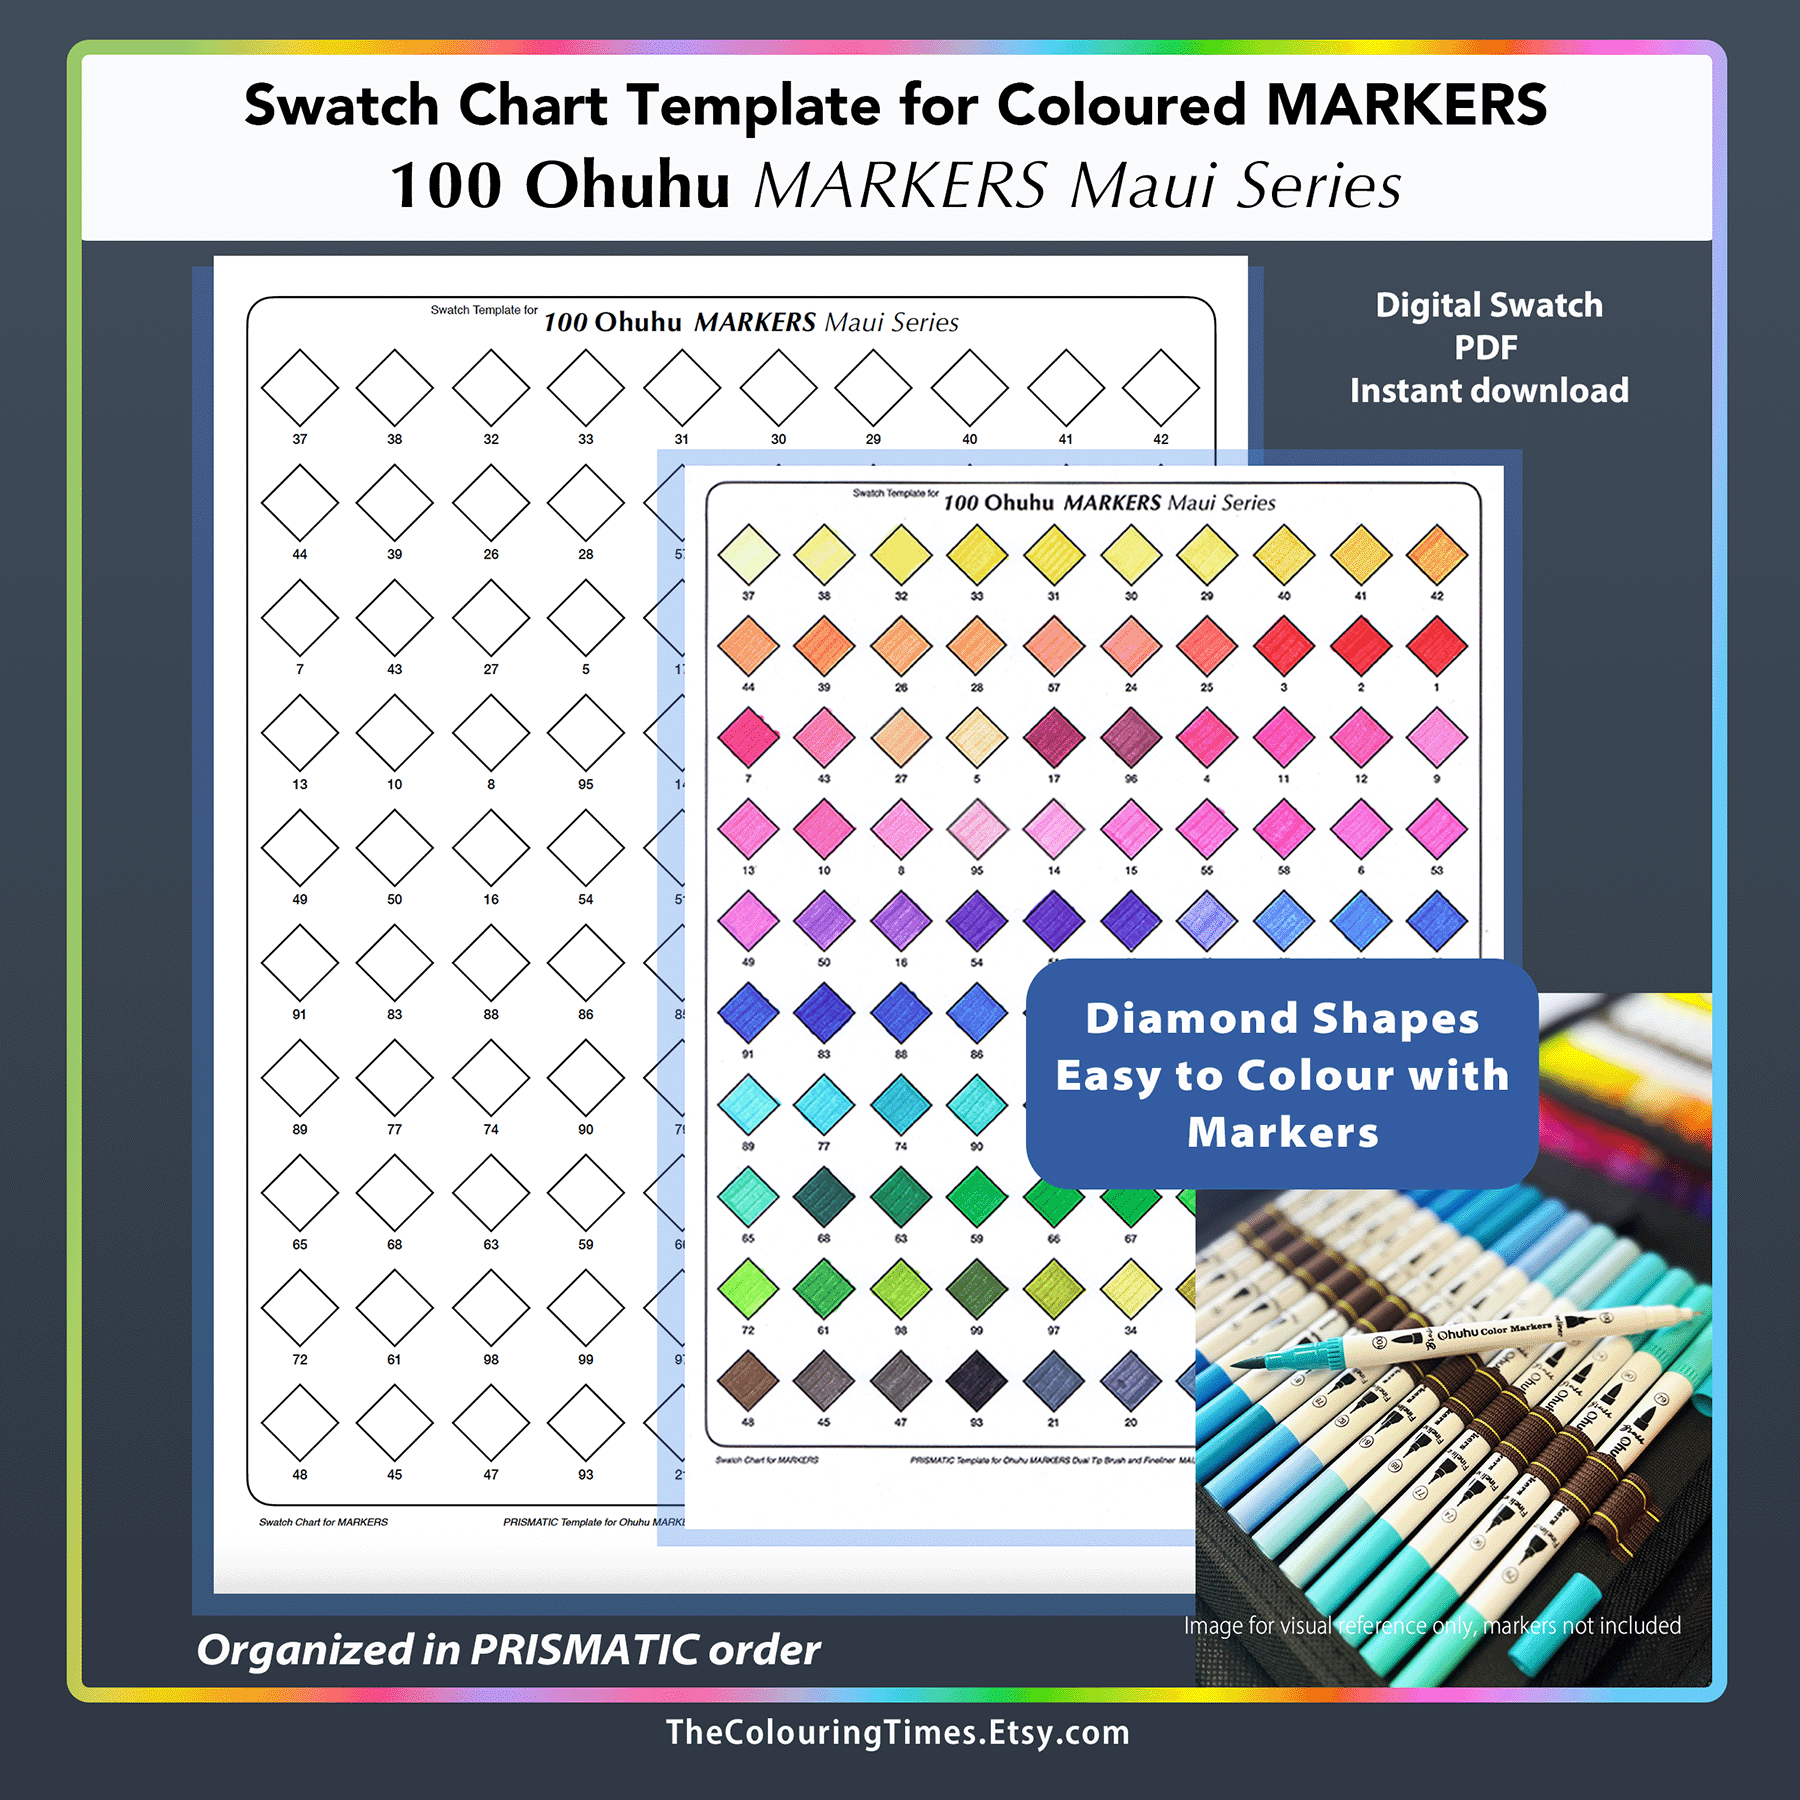
To keep all my markers organized, I created a brand-new Swatch Chart 😃🎨 — available now at TheColouringTimes.Etsy.com
- Swatch Colour Chart for 200 Ohuhu Markers OAHU Series
- Swatch Colour Chart for 100 Ohuhu Markers MAUI Series
- Swatch Colour Chart for 72 Ohuhu Coloured Pencils HALAWA Series
🧰 New Storage
Once my swatch was ready, I started looking for marker storage ideas. I wanted something that would keep them horizontal, easy to access, and well organized — plus lightweight and modular, so I could expand later and still have it looking good.
I found some great options online, including on Amazon and the Ohuhu store, but many were either too expensive or not quite what I wanted.
A while ago, I made a simple drawer-style pencil storage from foam board. It’s still going strong years later — foam board is surprisingly resilient! That project gave me the idea for a new one.
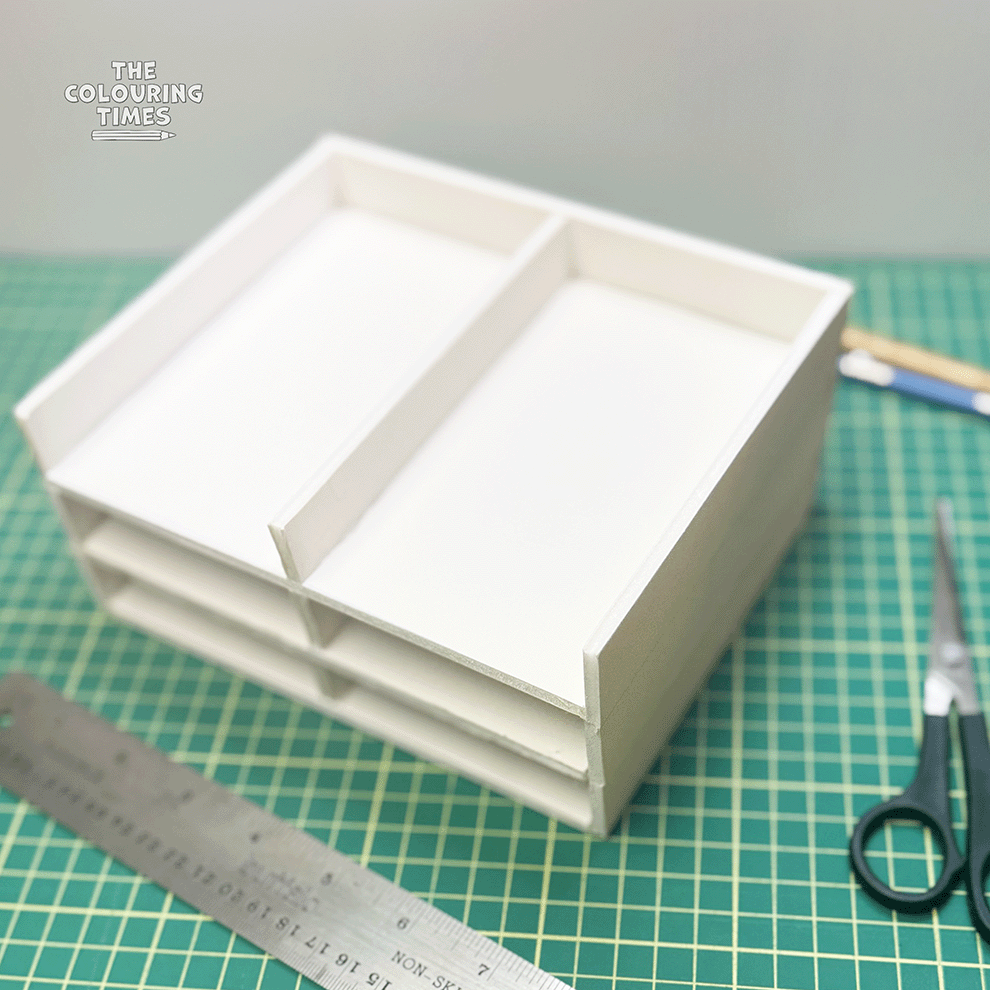
So, inspired by the designs I found, I created my own DIY Marker Storage. It’s made mostly from white foam board and hot glue, but with a few extra details — like an outer shell and finishing tape — it looks tidy, sturdy, and really neat.
All you need for this project : a few hours, some patience, and a lot of love for DIY. 🩷
🧰 What You’ll Need
To Build One Module (Holds up to 100 Markers)
Supplies
- 3 sheets of white foam board – 20” x 30” (50.8 x 76.2 cm)
Two are used to build, and one serves as backup.
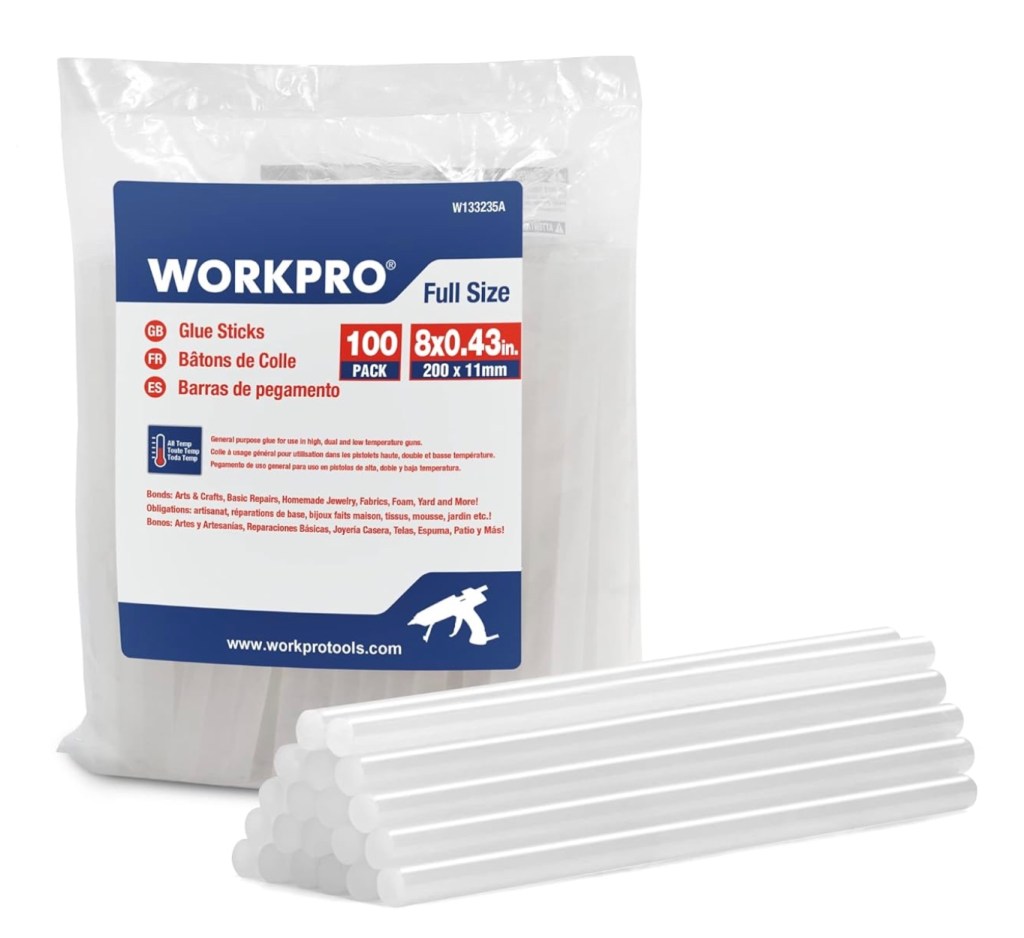
Cost: about $1.50 each → ≈$4.50 total - 20–30 mini hot glue sticks – 0.27″ x 4″
(A 100-pack costs around $10–12) → ≈ $3.50 worth - White finishing tape (or any alternative: contact paper, photo paper, decorative tape) → ≈ $3.50
💡 Tip: I bought my foam boards at a local dollar store — they also had black and light blue options.
I chose white because it keeps the focus on the markers and their colours, making it easier to compare tones while colouring.
Tools
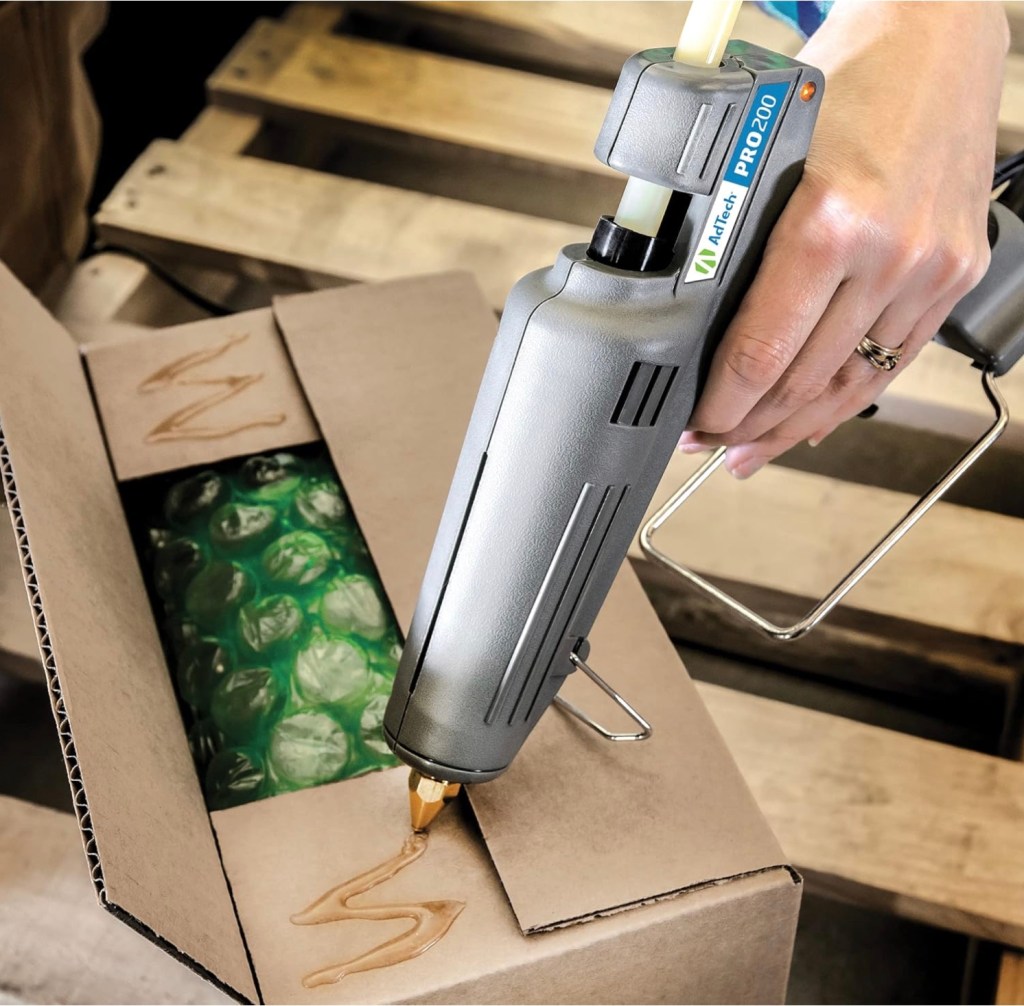
- Hot glue gun (comfortable to use with one hand)
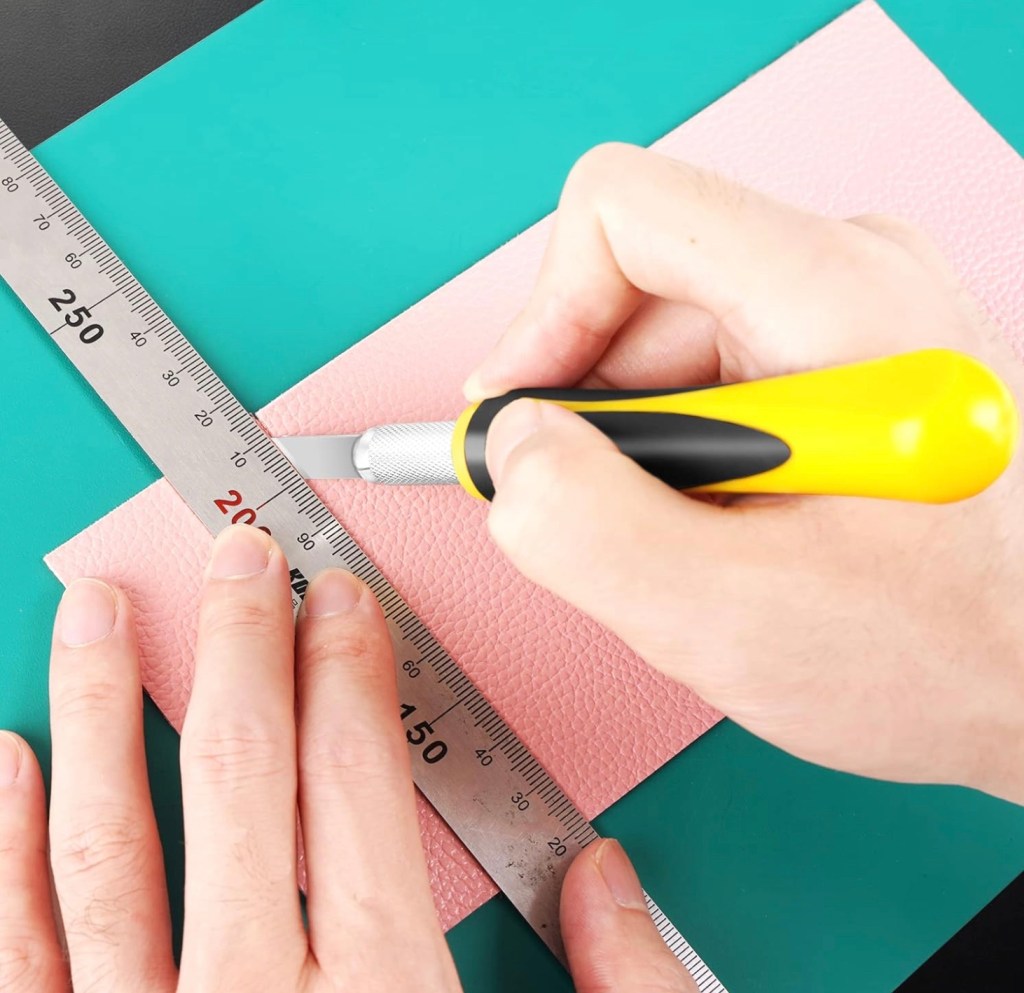
- Paper cutter with a fresh blade
- Metal ruler (for straight, precise edges)
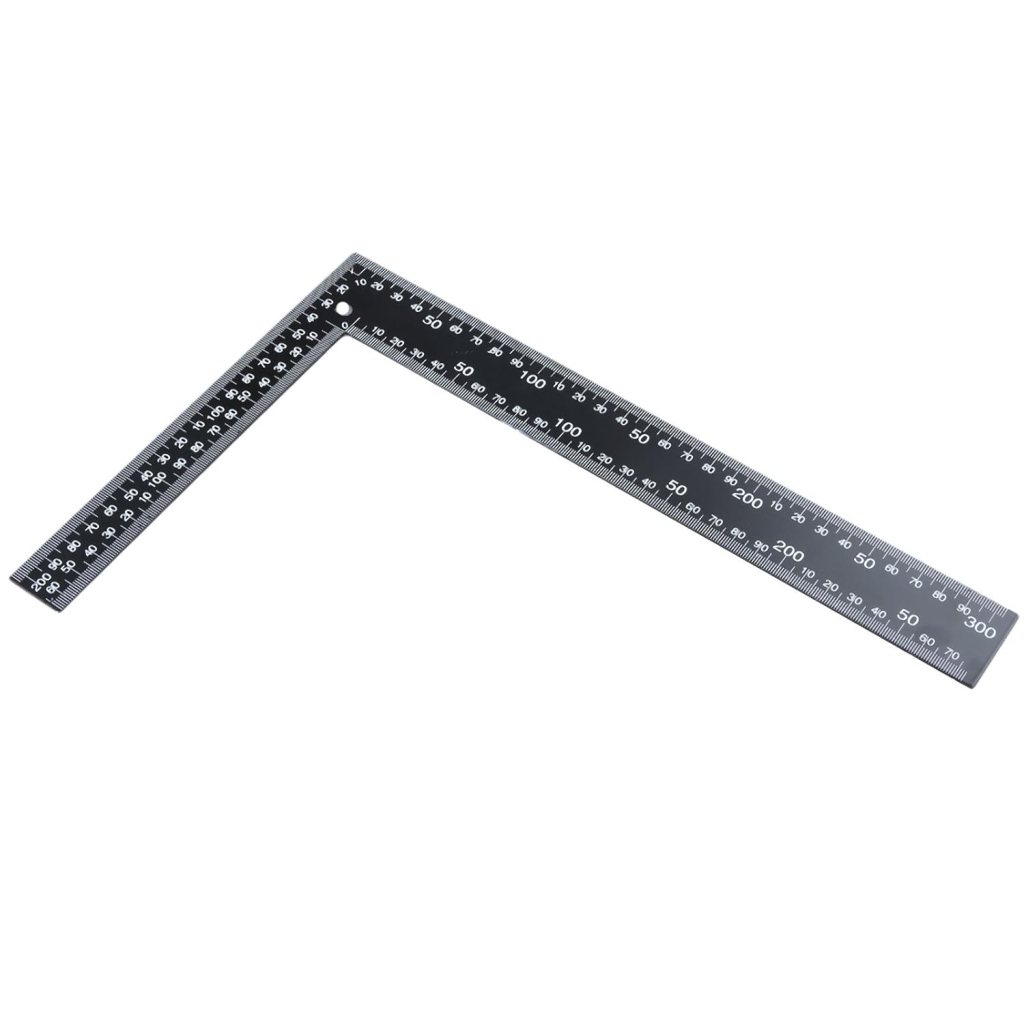
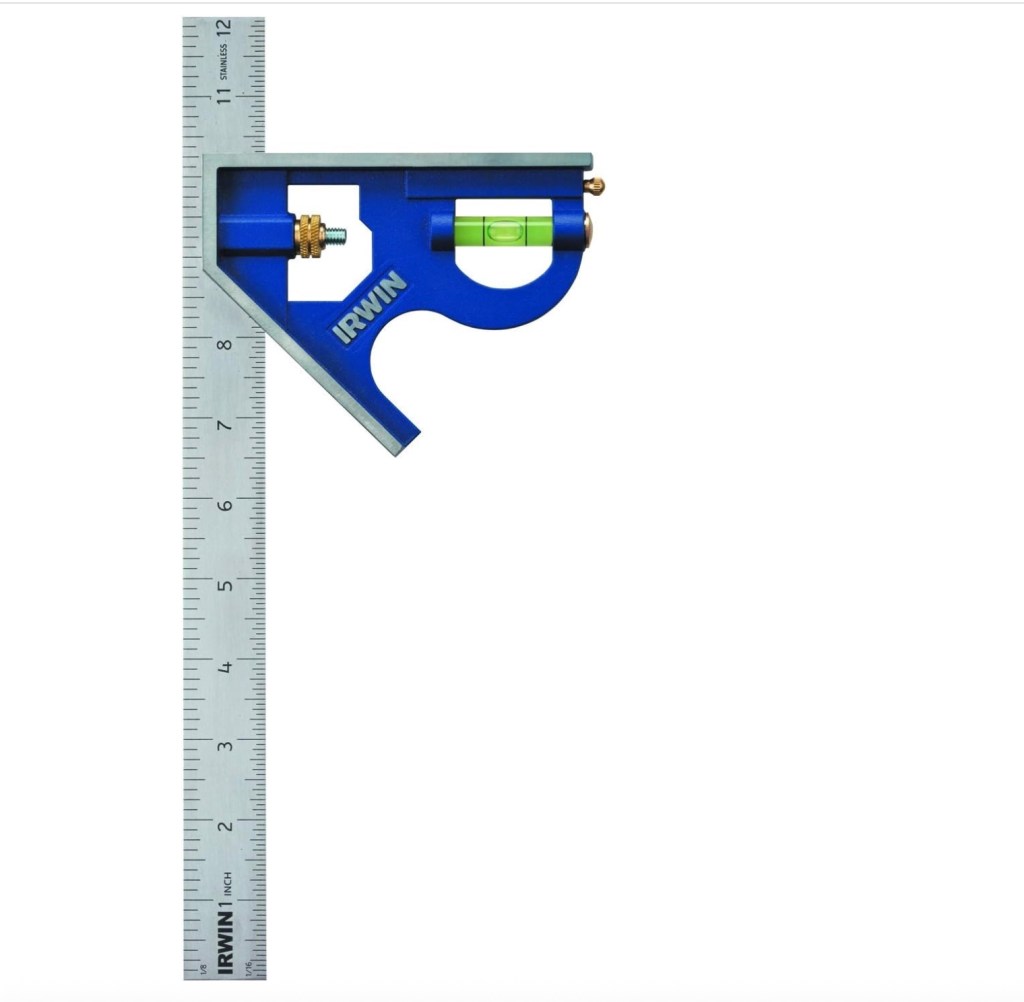
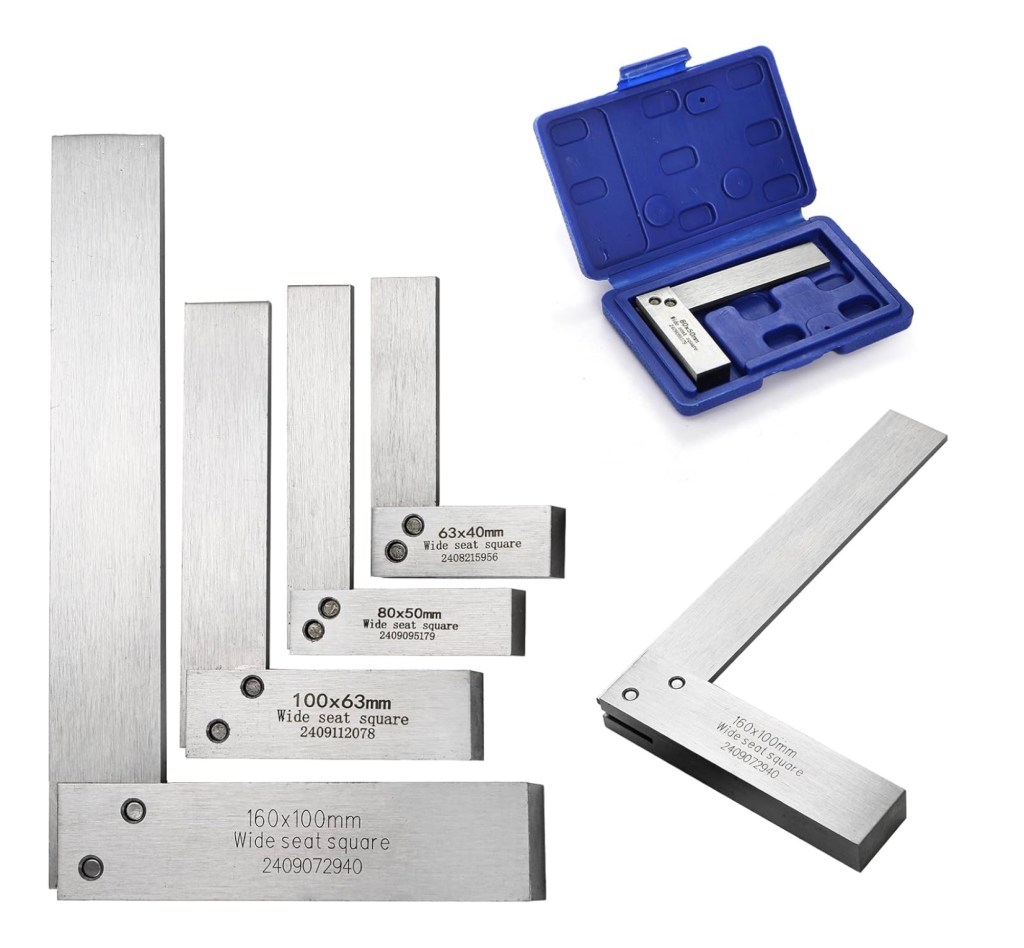
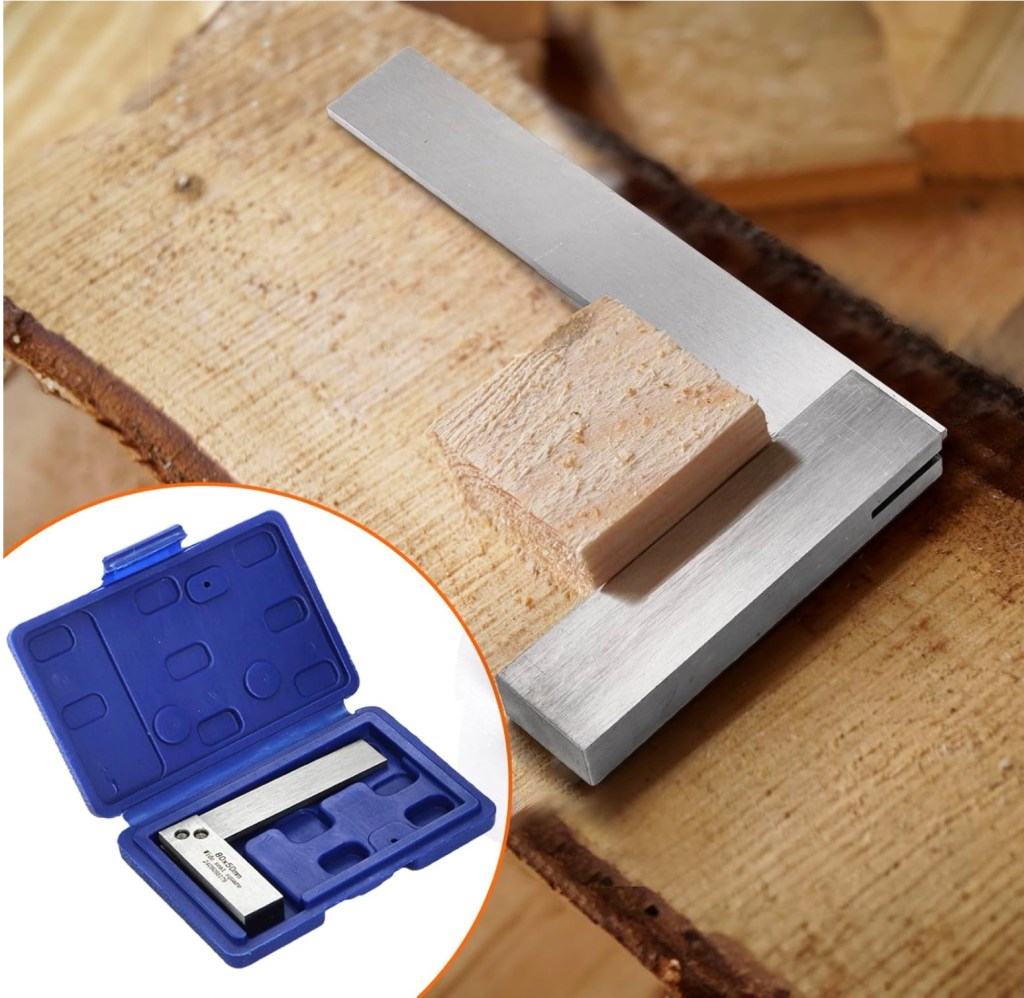
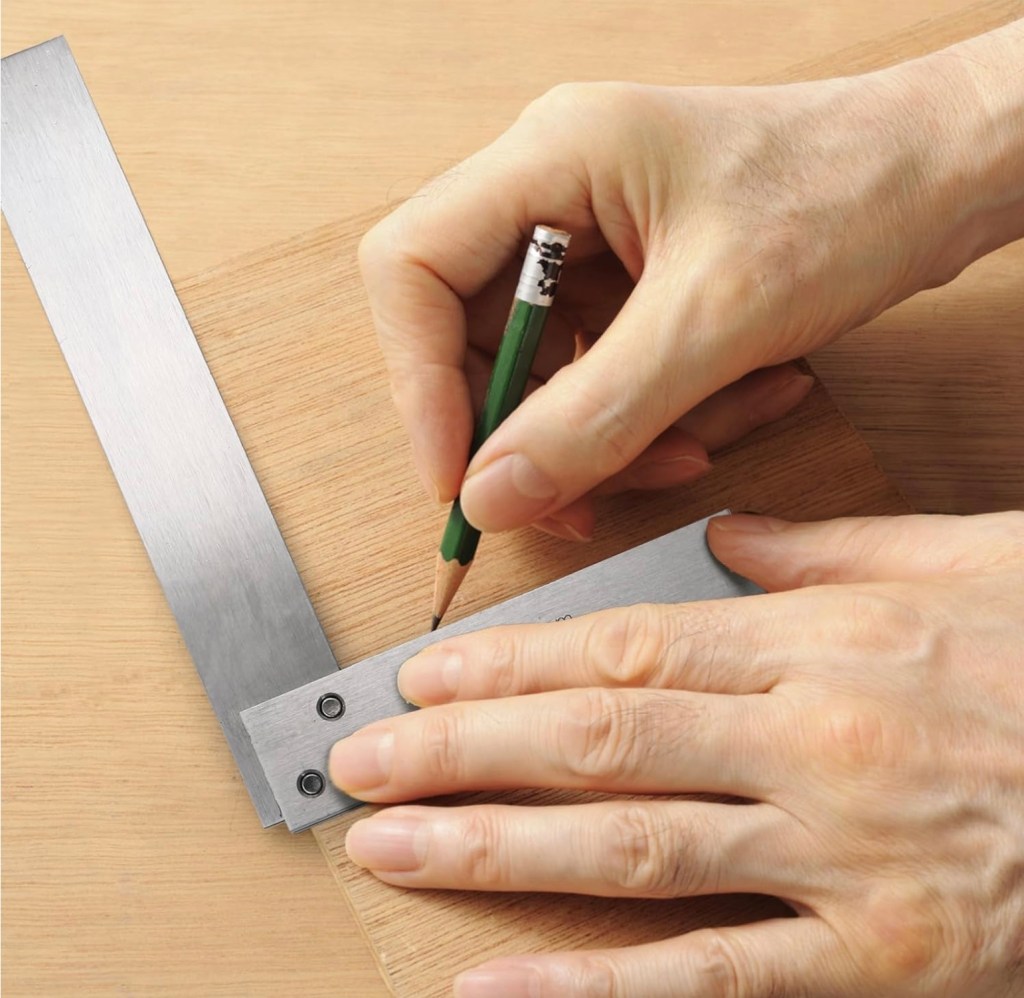
- Square ruler 90 degrees or corner template
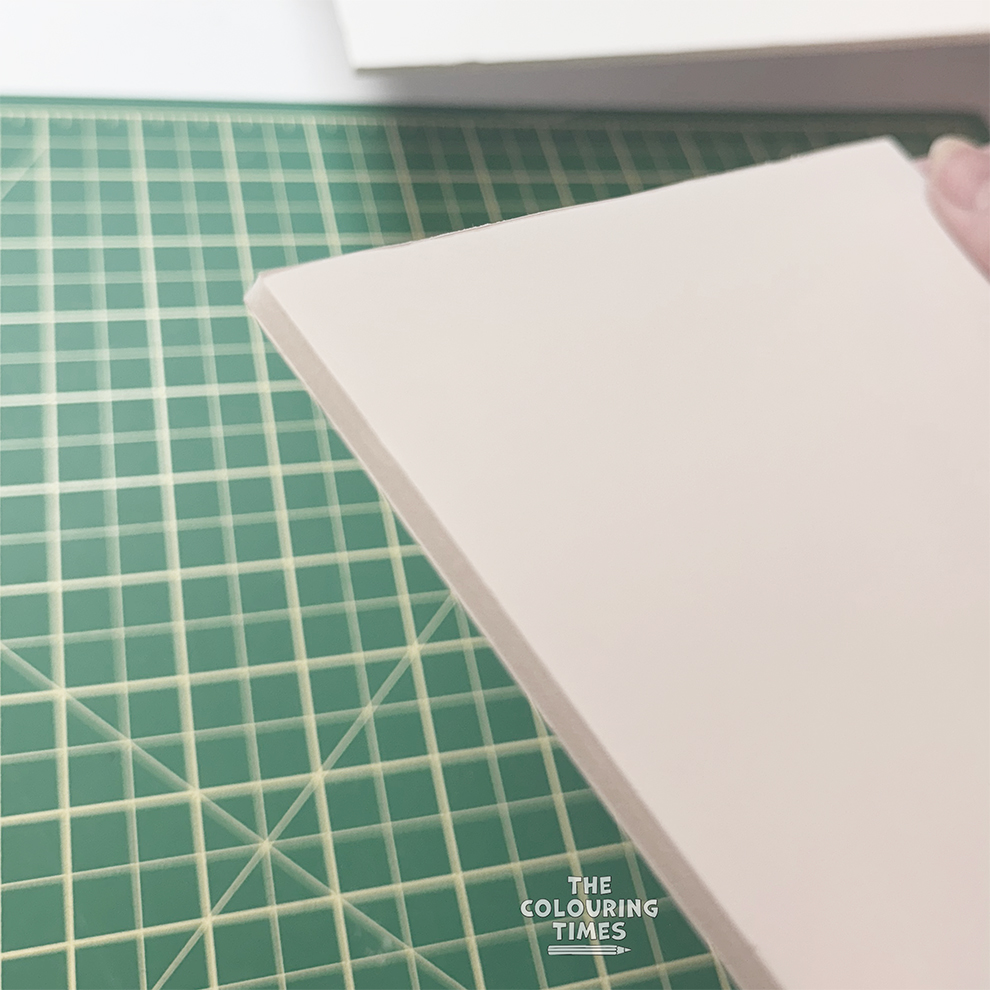
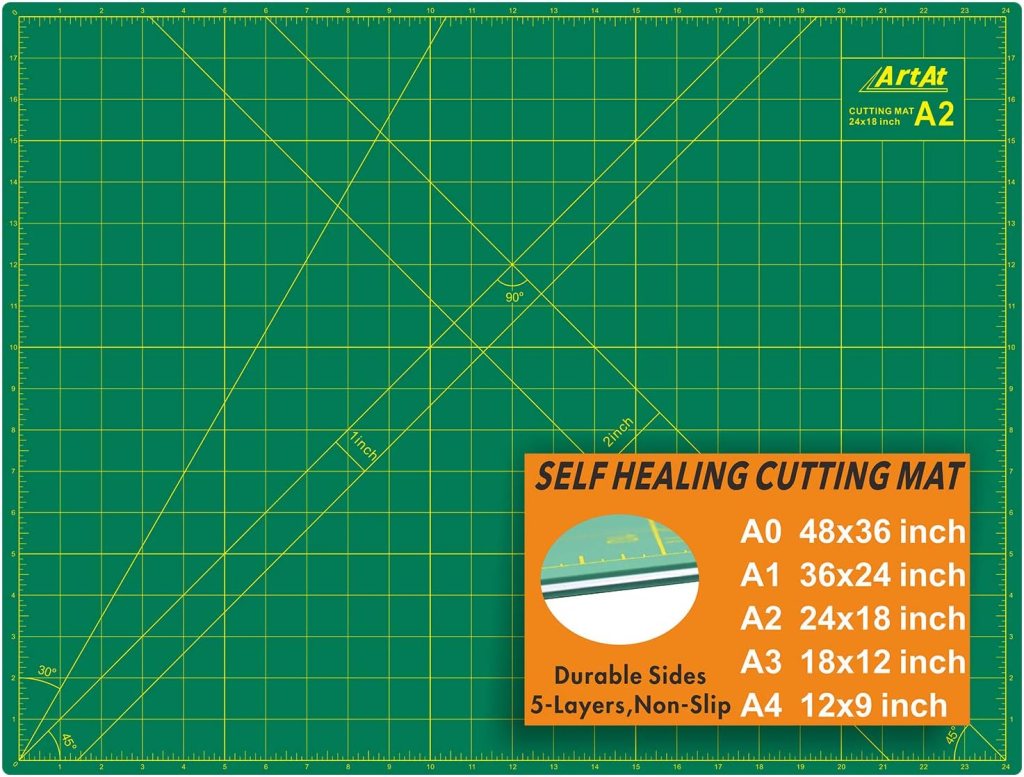
- Cutting mat or flat work surface with grid lines — this really helps with precision
Time
⏱ 2–4 hours total
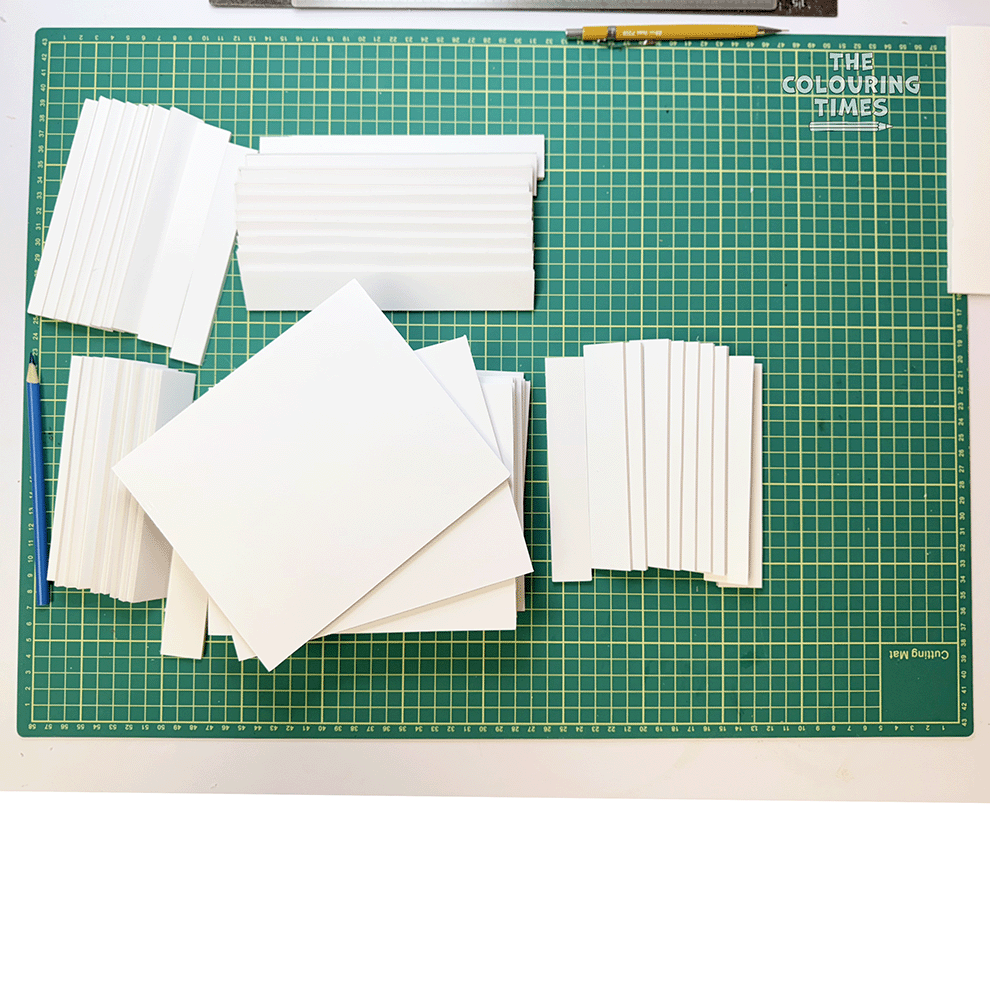
Cutting is the most time-consuming part, especially if you want clean, identical pieces.
If you take the time to measure and cut precisely, your final structure will fit together beautifully — and gluing will be much easier.
The project includes an outer shell, giving your marker storage a neat, finished look.
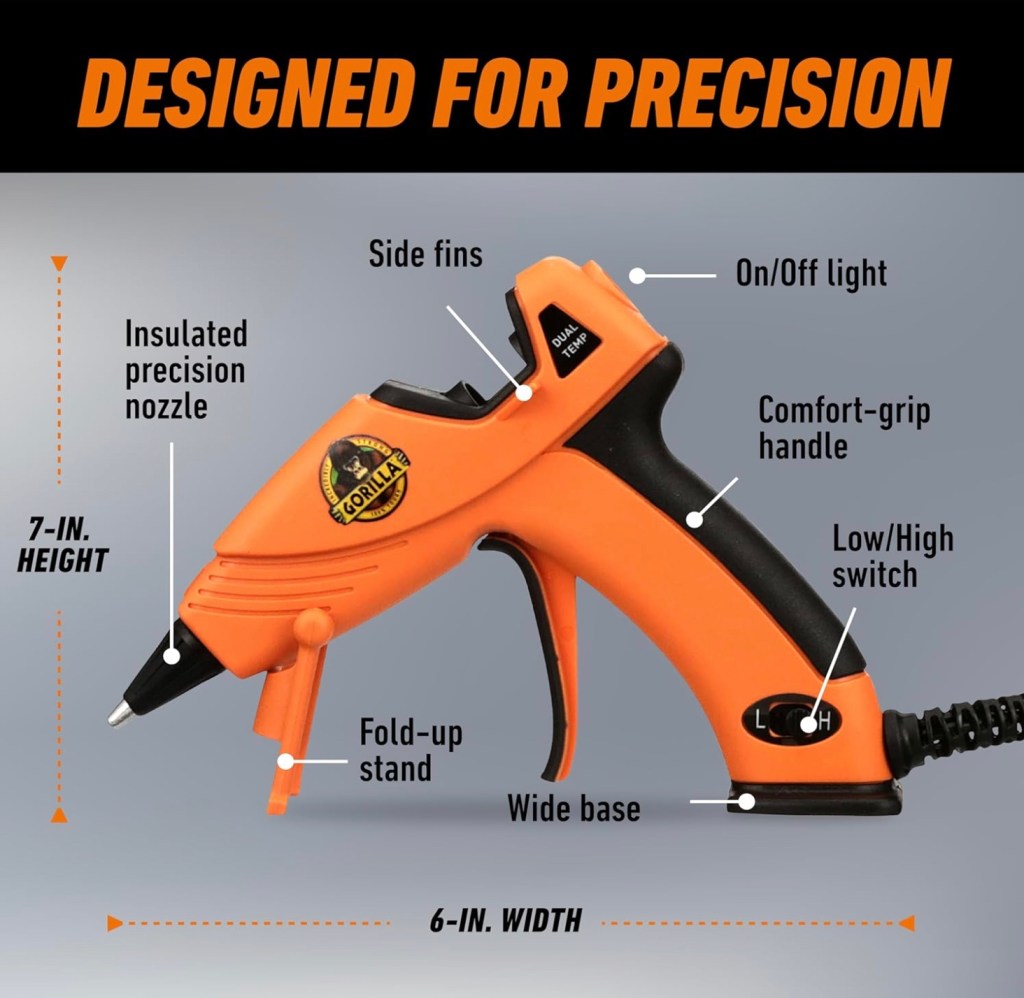
Amazon Associate’s Choice: Gorilla Hot Glue Gun – Dual Temp, Precision Nozzle, and Easy Squeeze Trigger


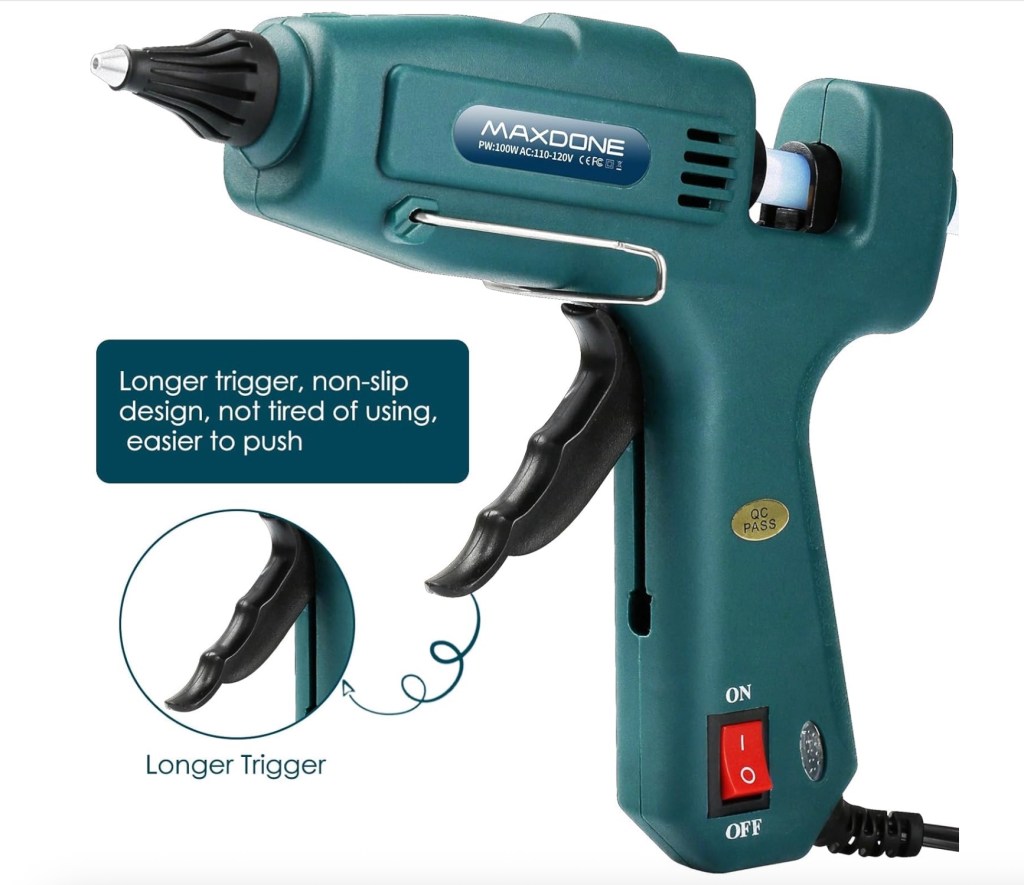
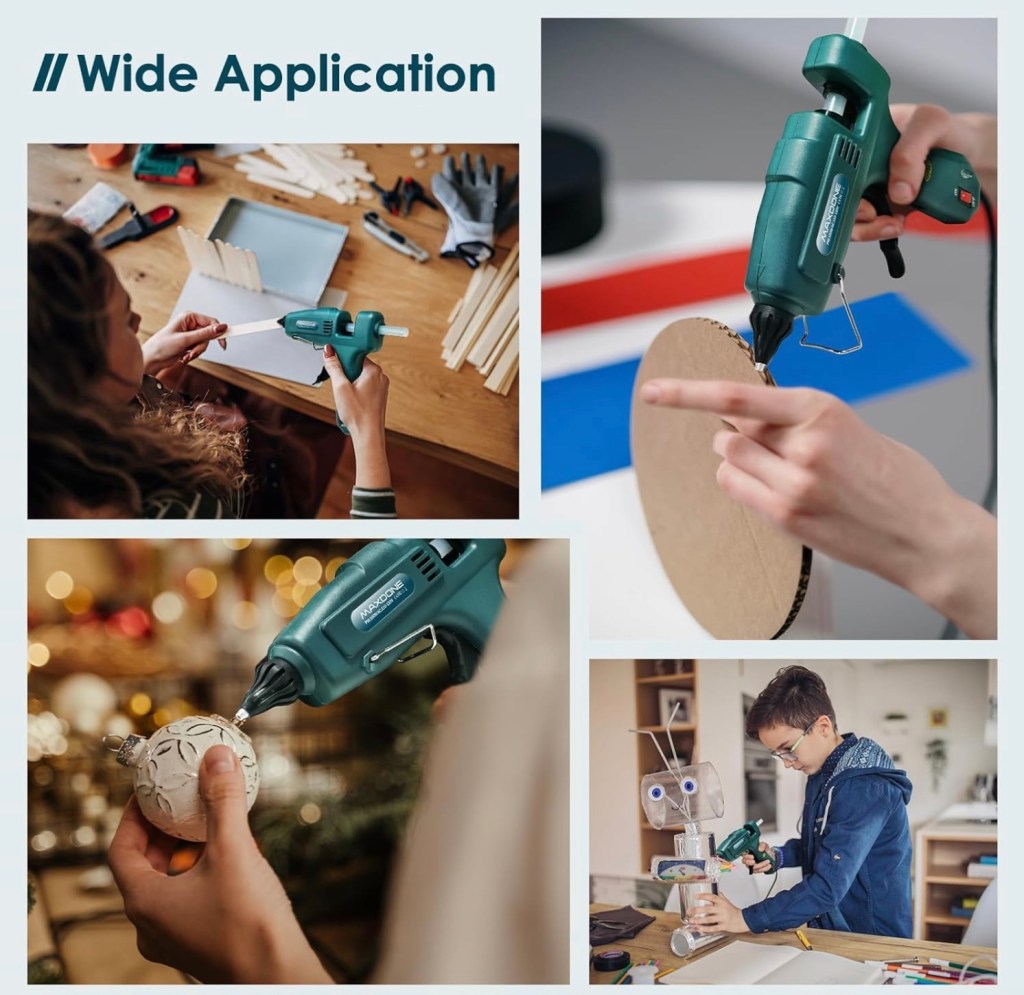
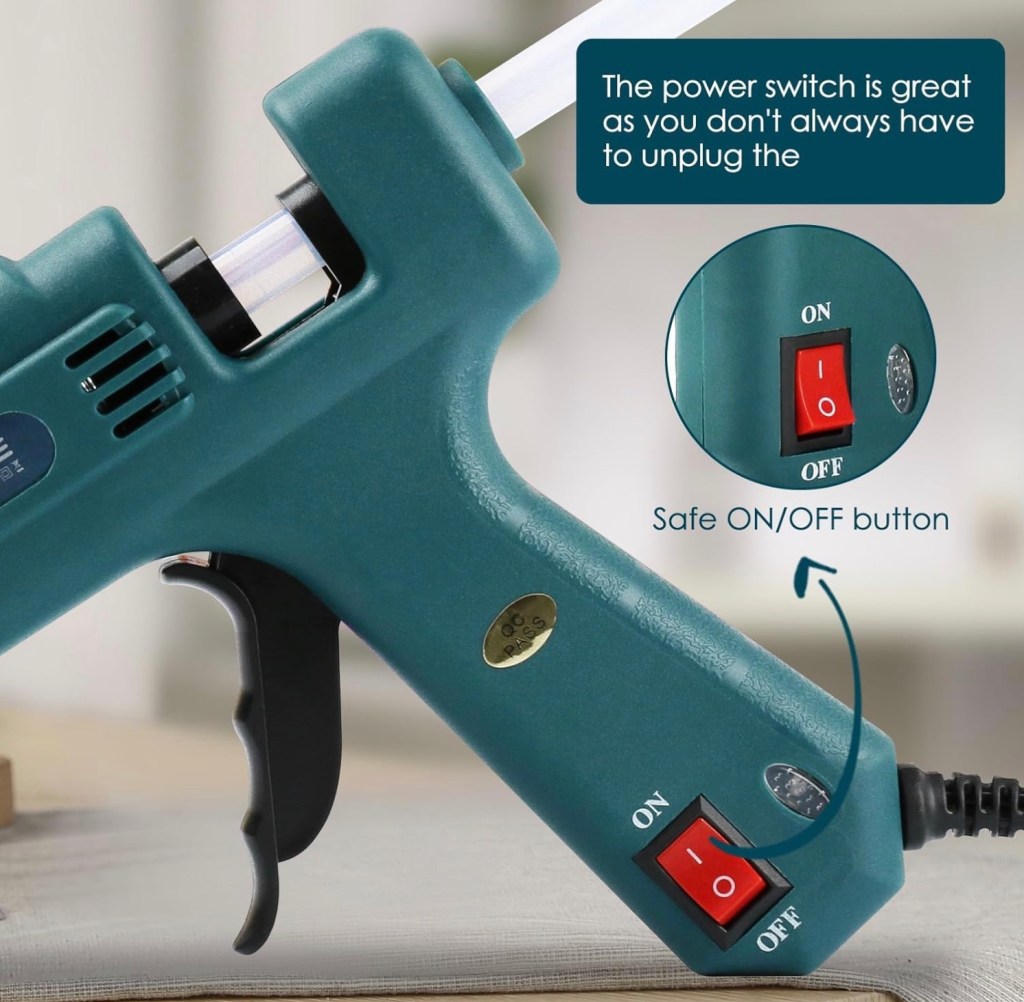
Amazon Associate’s Choice:MAXDONE Craft Glue Gun Full Size (Not Mini) Heavy Duty 100w
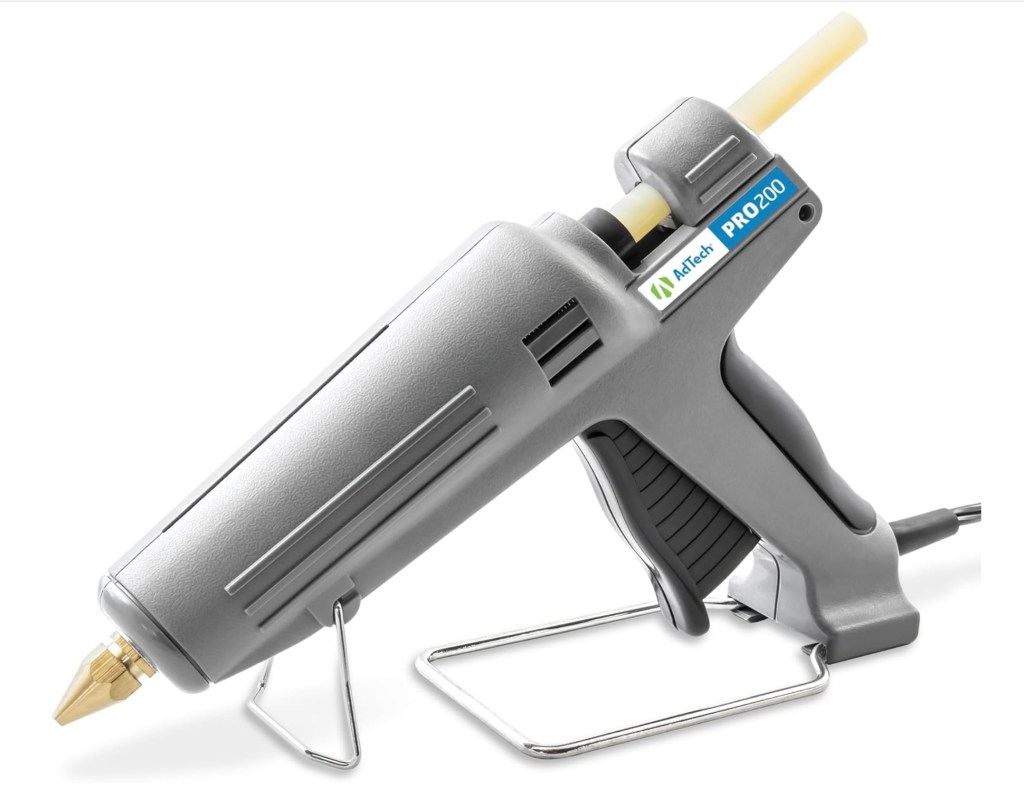
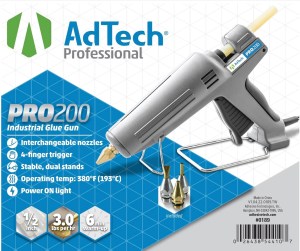
Amazon Associate’s Choice:AdTech Professional Grade Hot Glue Gun
🧱 Steps to Build Your Marker Tower
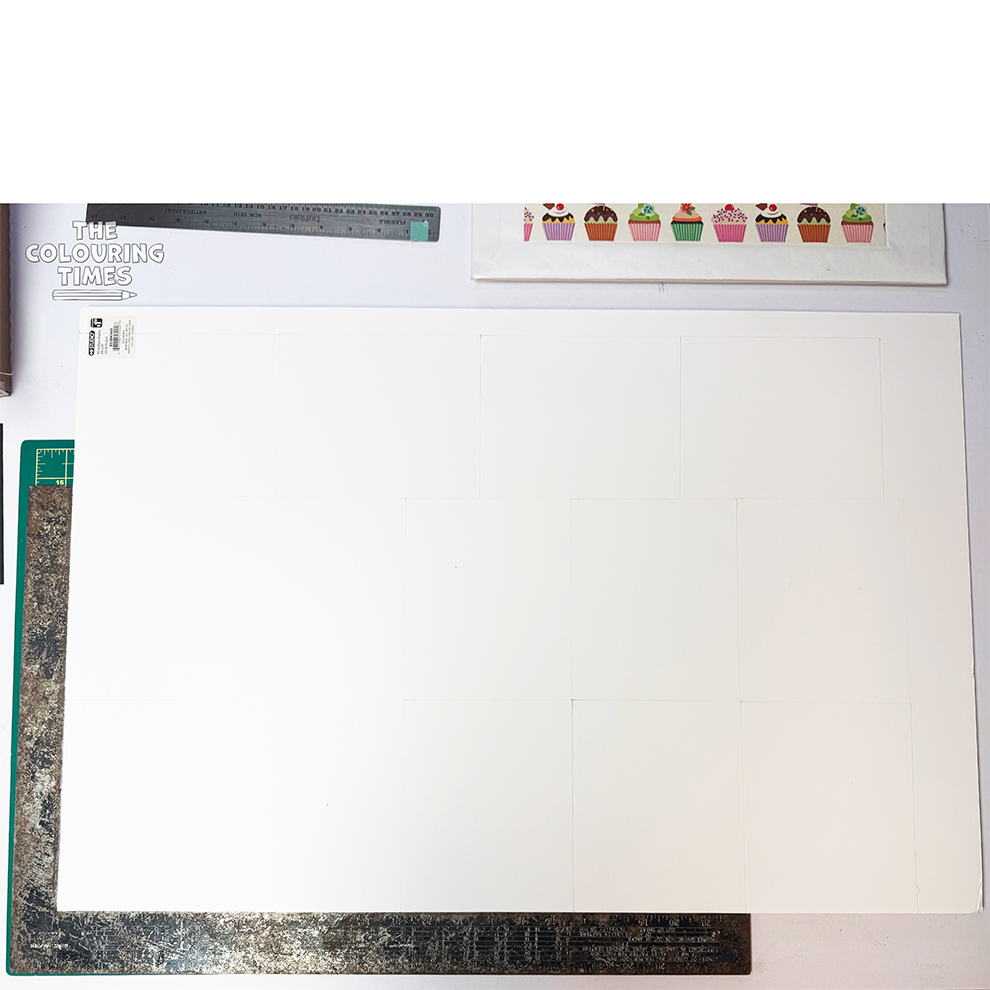
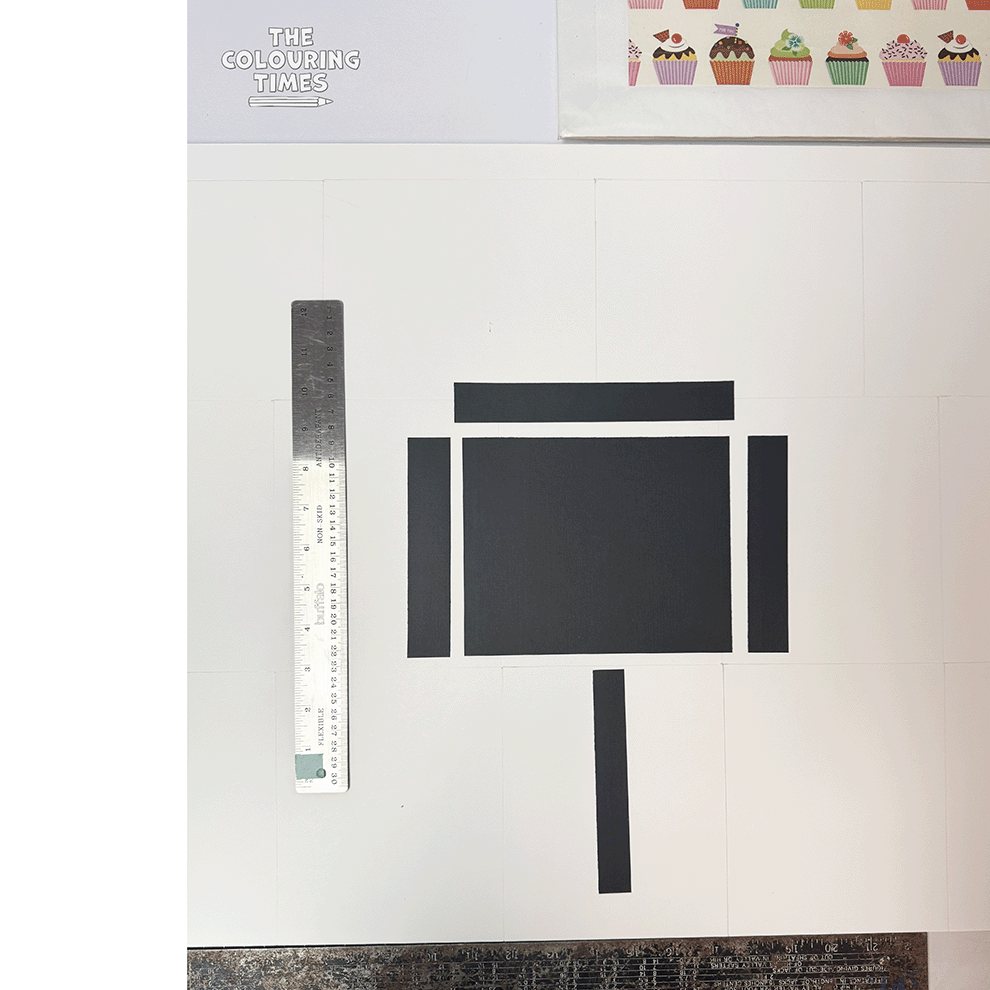
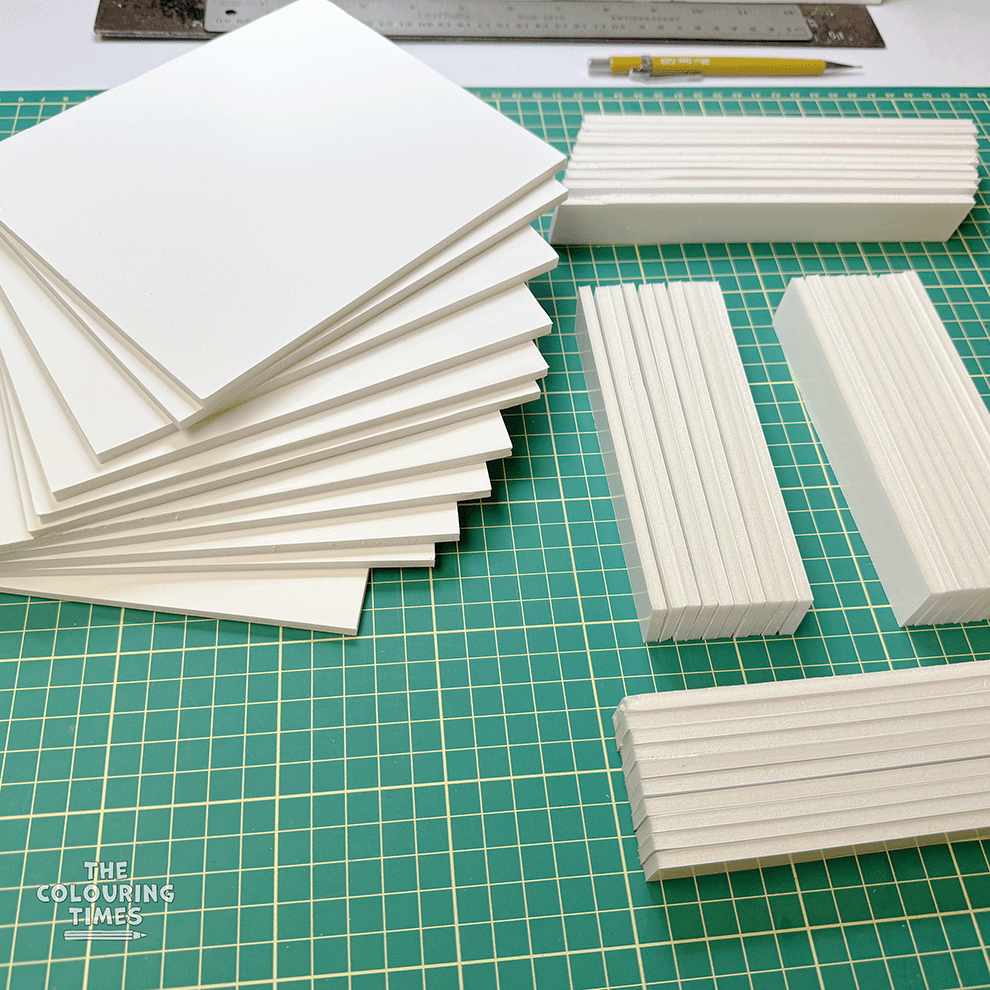
1. Measure and Cut the Foam Board
Each tower includes 10 shelves and 1 outer shell.
To Build 10 Shelves:
- 10 back pieces – 18 cm × 2.5 cm (≈ 7 in × 1 in)
- 20 side pieces – 14 cm × 2.5 cm (≈ 5½ in × 1 in)
- 10 middle pieces (dividers) – 14 cm × 2 cm (≈ 5½ in × ¾ in)
- 11 flat boards (10 for shelves and one to close on top) – 14 cm × 17 cm (≈ 5½ in × 6¾ in)
To Build the Outer Shell:
- 1 shell top – 19 cm × 16 cm (≈ 7½ in × 6¼ in)
- 1 back – 18.5 cm × 28 cm (≈ 7¼ in × 11 in)
- 2 sides – 28 cm × 16 cm (≈ 11 in × 6¼ in)
✂️ Tips for Cutting:
- Cut a pattern template first using cardboard. This makes it easy to trace identical pieces.
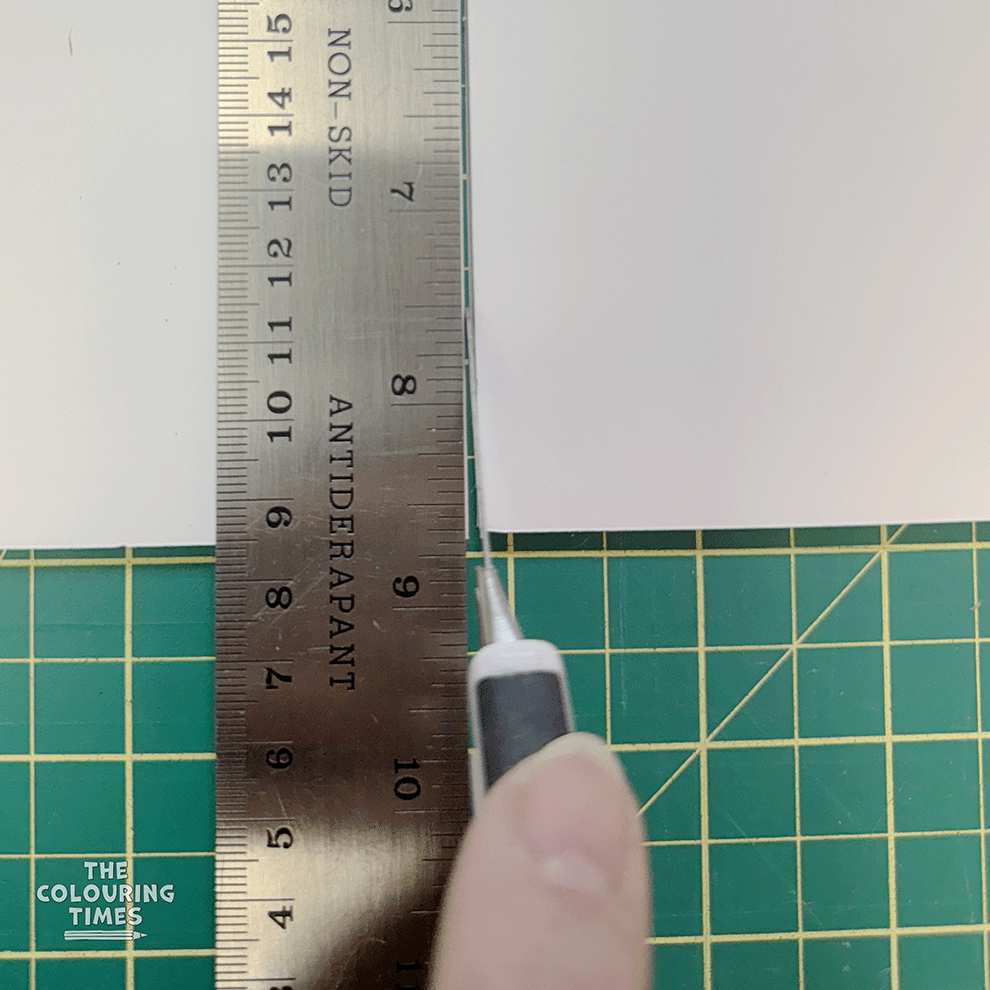
- Hold the blade vertically while cutting to ensure a clean 90° corner on each piece.
- Replace dull blades often — sharp blades give cleaner cuts and prevent rough foam edges.
- A metal ruler helps guide straight, precise lines.
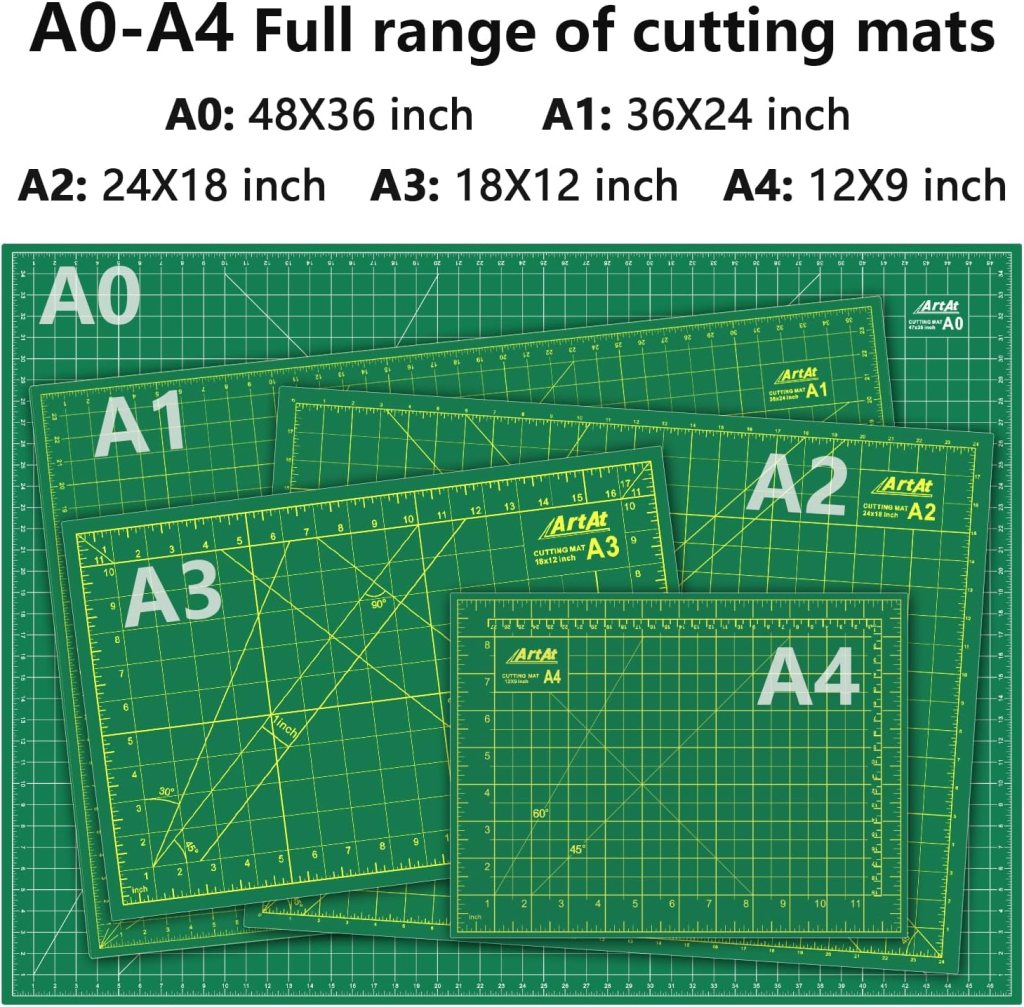
Amazon Associate’s Choice:Self Healing Green Cutting Mat: Double Sided 5 Layers -ArtAt

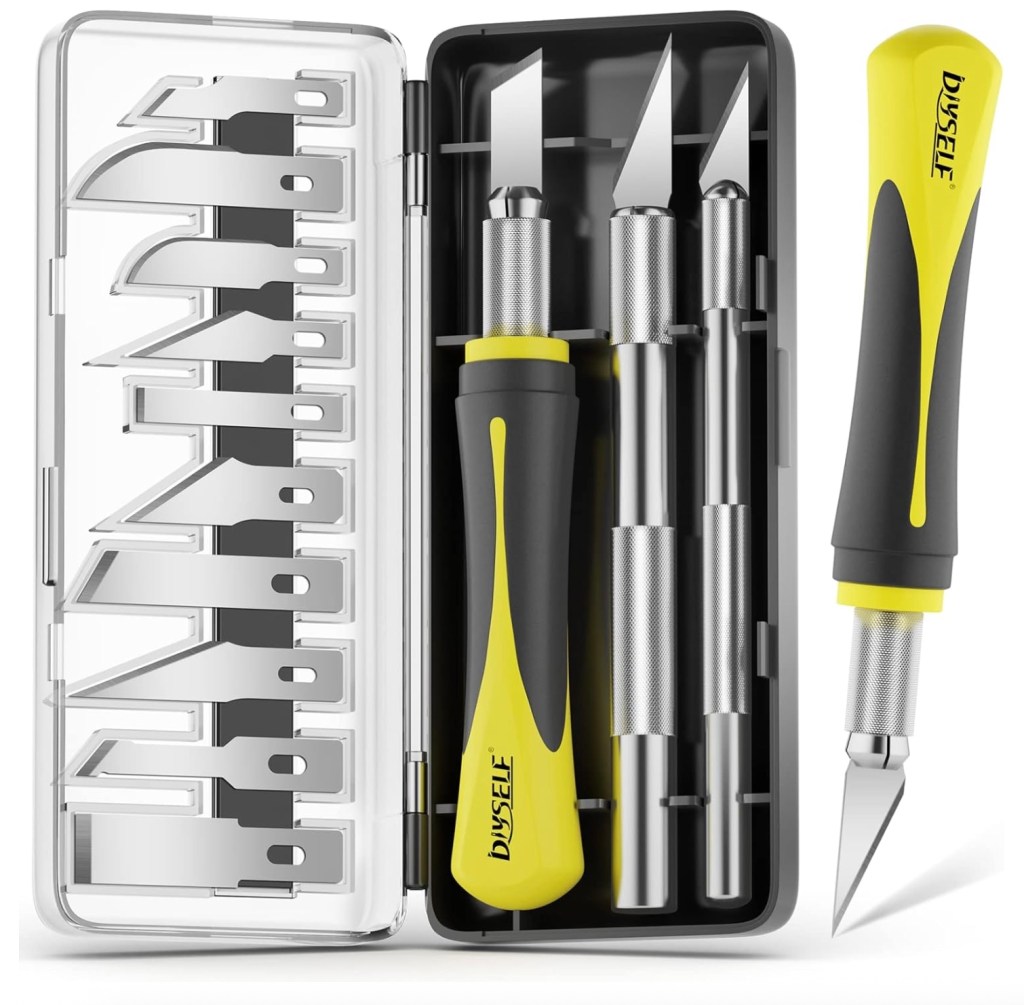
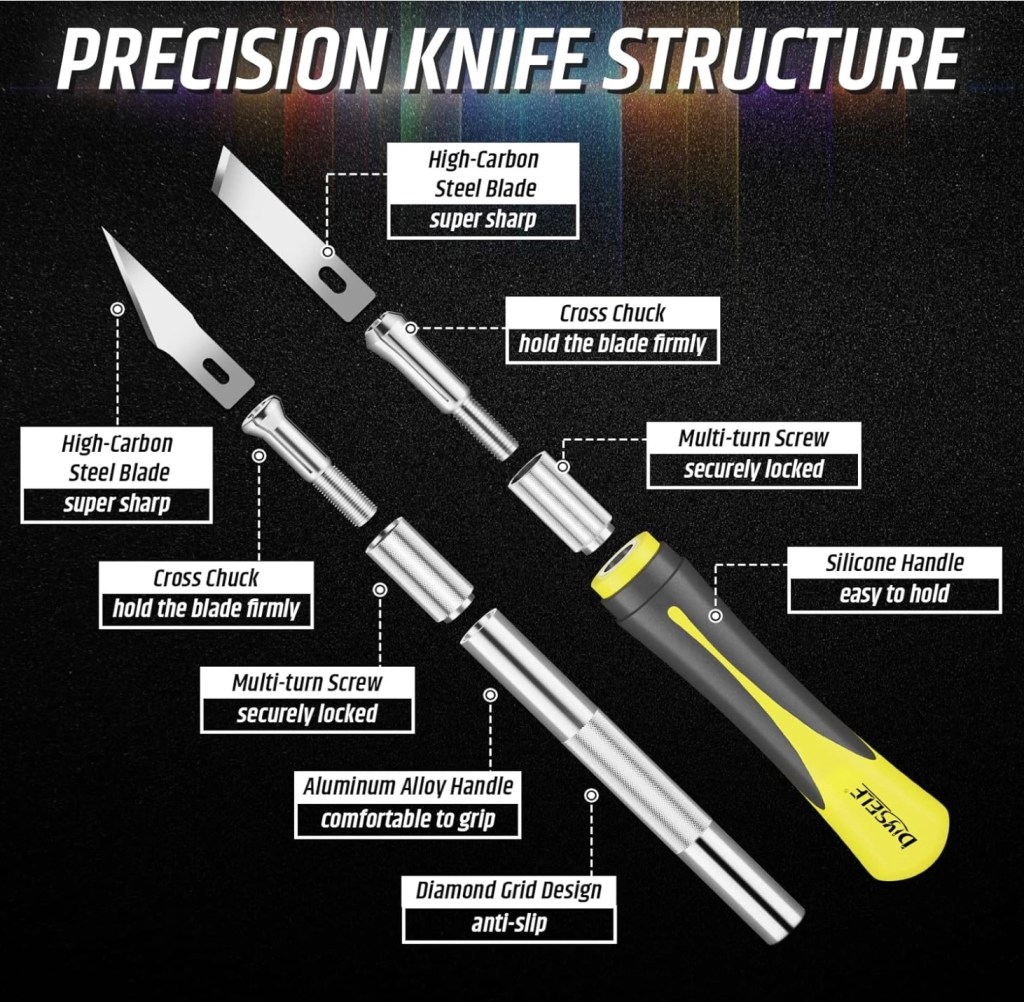
Amazon Associate’s Choice: DIYSELF 16 Piece Craft Knife Set – Precision Art Knife
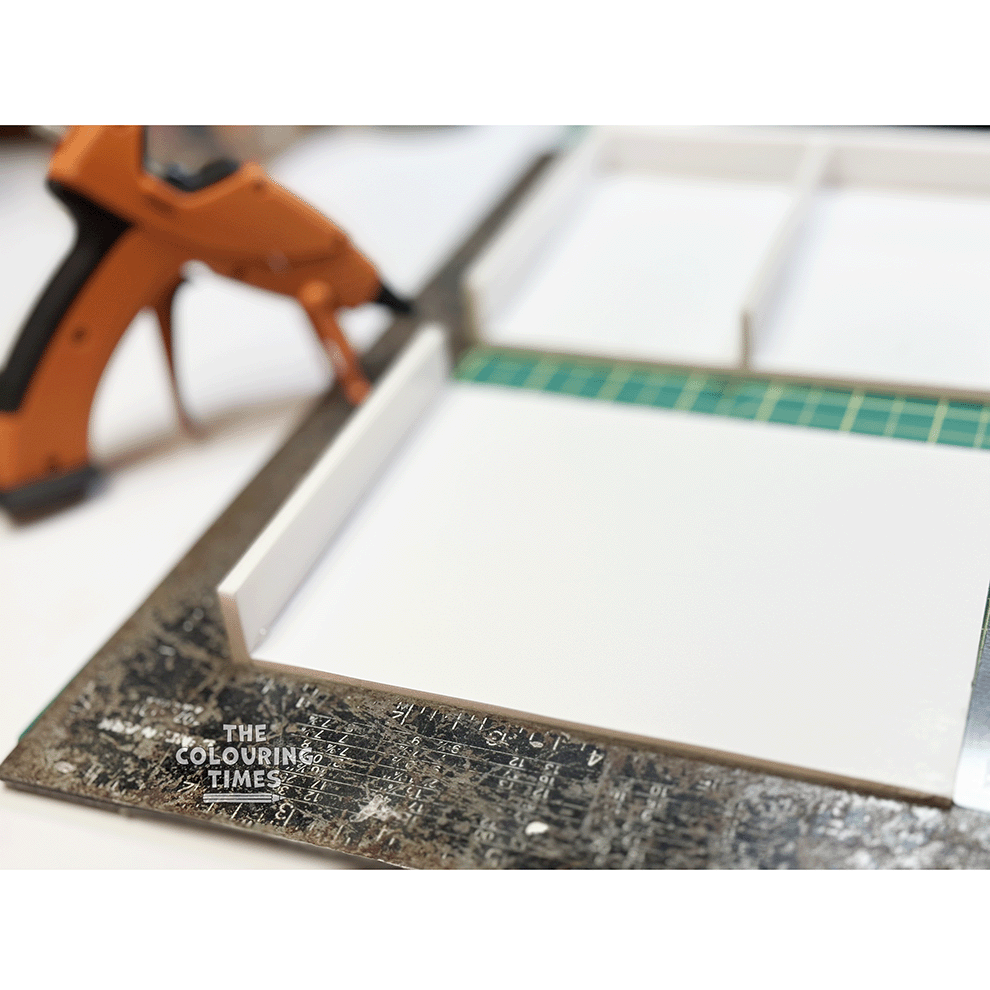
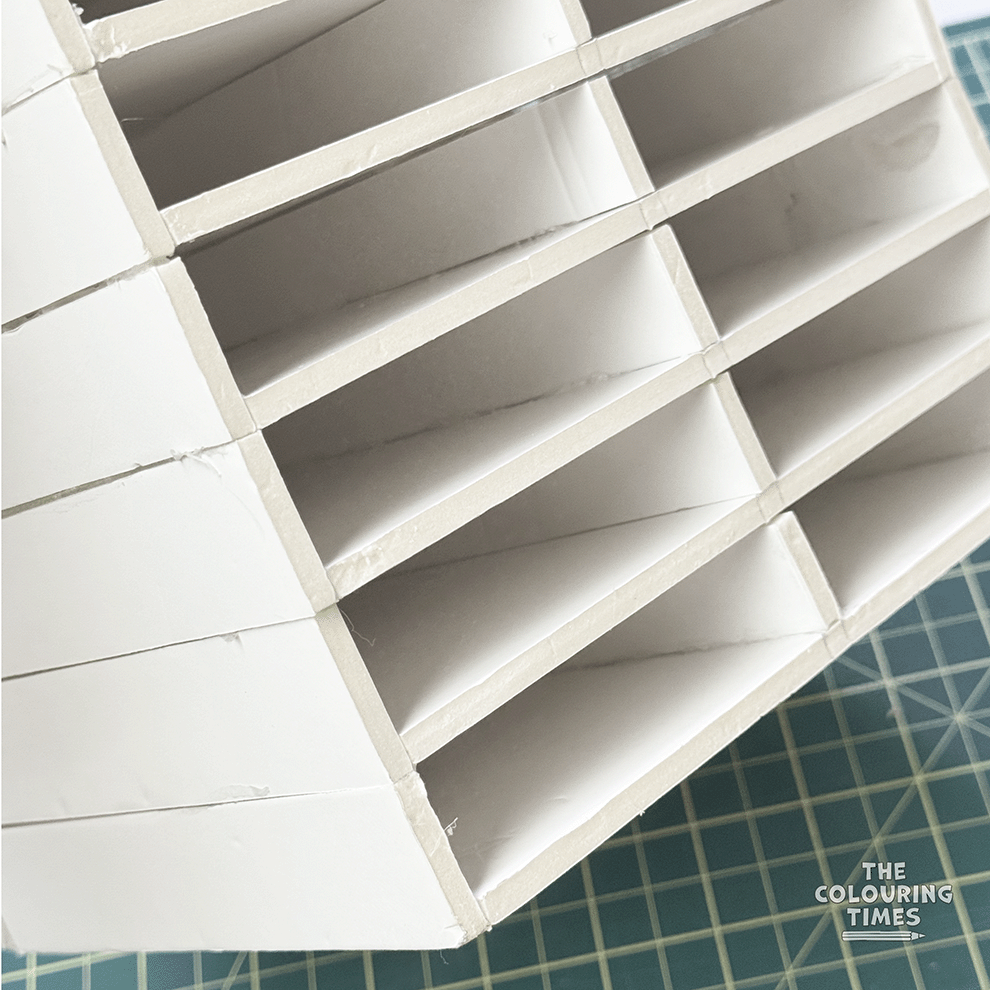
2. Glue the Pieces into 10 Shelves
Each shelf includes one flat board, one back piece, one middle piece and two side pieces.
- Apply a thin line of hot glue along the edge of the flat board.
- Attach one side piece, then the other, pressing gently for 10–15 seconds.
- Attach the middle piece, pressing gently for 10–15 seconds.
- Glue the back piece to complete the shelf frame. A square ruler is great to keep everything in place when assembling shelves with hot glue.
💡 Tip: Build all 10 shelves before assembling the tower — this helps ensure consistent spacing and angles.

- Amazon Associate’s Choice:
- Mtsooning Metal L Square Ruler, 90 Degree 8 x 12″
- IRWIN Combination Square, 12”, 45-90 Degree Marking, Stainless Steel
- WORKPRO Full Size Hot Glue Sticks, 100-pack, 0.43×8 Inches, Compatible with Most Glue Guns
Amazon Associate’s Choice: Suwimut Machinist Set – High Precision Squares, 90 Degree Wide Base L-Type Ruler Tool
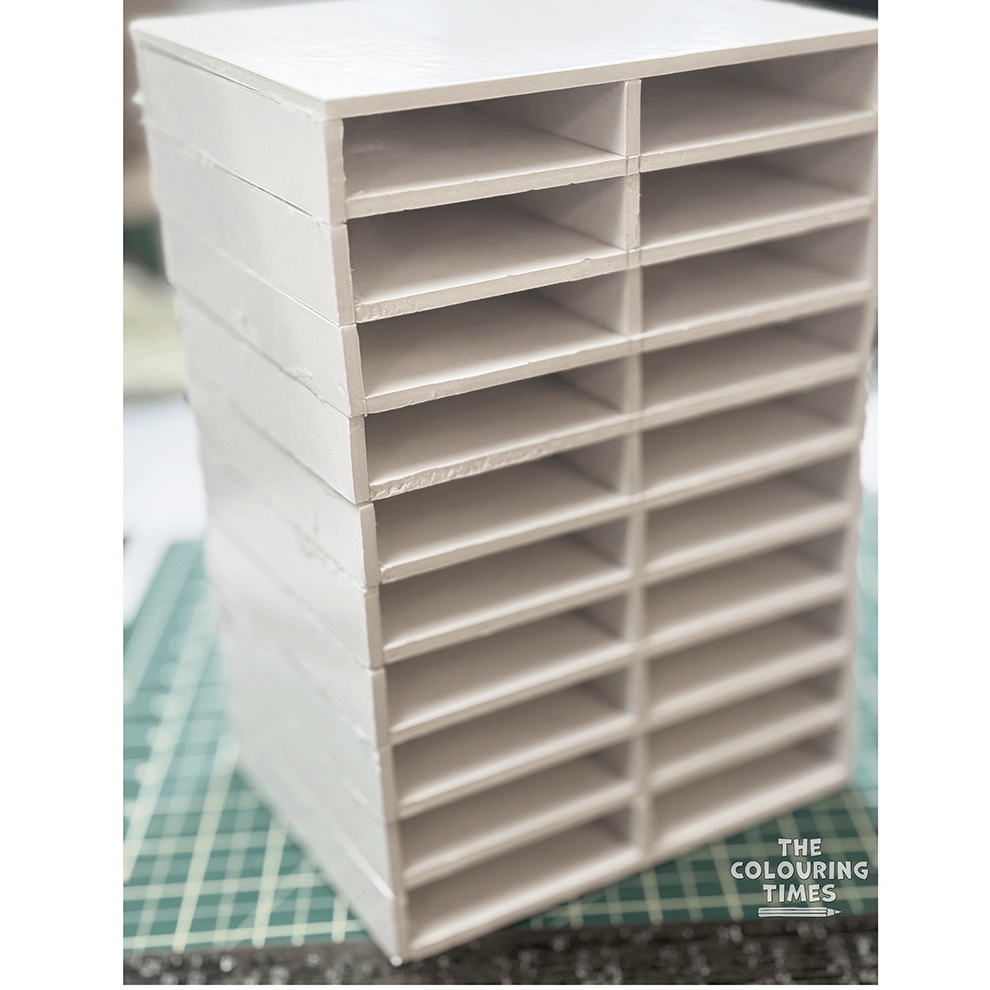
3. Assemble the 10 Shelves into a Tower
- Start from the bottom shelf and build upward.
- Apply hot glue along the top edges of the lower shelf and carefully place the next shelf above it.
- Continue until all 10 shelves are stacked evenly.
- Check alignment as you go — use a square 90 degree ruler or another “L” pattern, to keep your tower straight as you add more shelves.
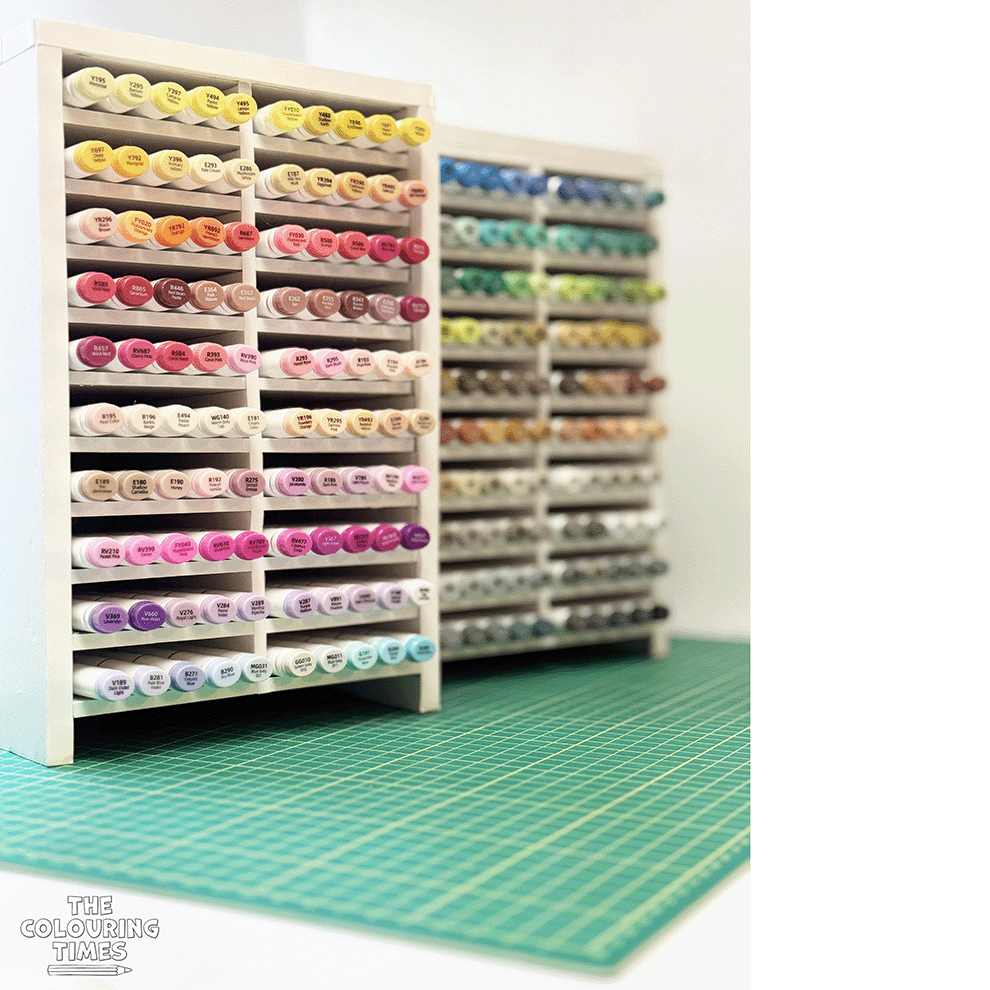
You’ll now have the inner structure of your tower ready! Don’t worry if your tower is looking a bit unfinished or if it’s not perfectly aligned – the outer shell will make everything look great and polished!💕
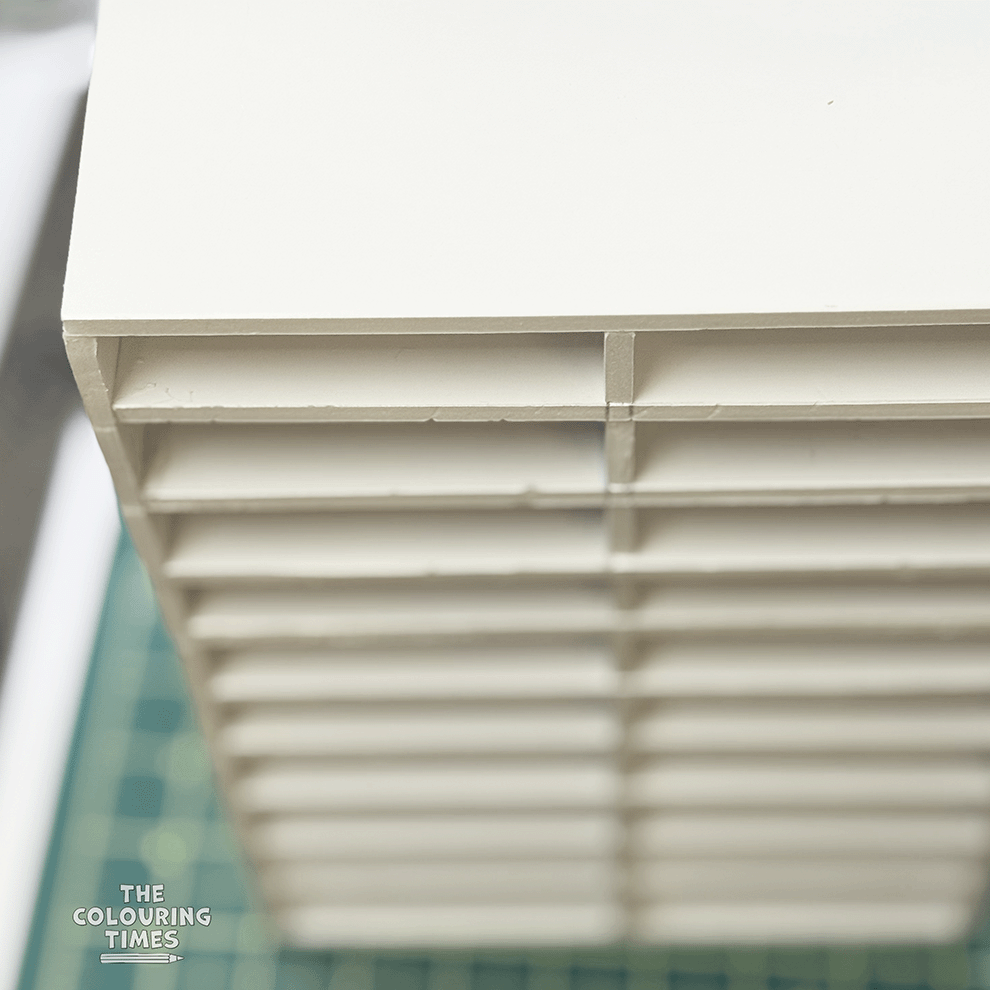
4. Fit and Attach the Outer Shell
This outer layer strengthens the structure and gives your storage a clean, finished look.
You will note that the outer shell is a little longer on the back and side panels. This is to allow to have a little space for feet at the bottom of the tower. Place the outer shell with a little tape first, before assembling, to check the final appearance. Make sure all the pieces fit well before putting together with hot glue.
- Glue the back panel to the tower first
- Add the two side panels, gluing one at a time.
- Finally, glue the top panel to complete the shell.
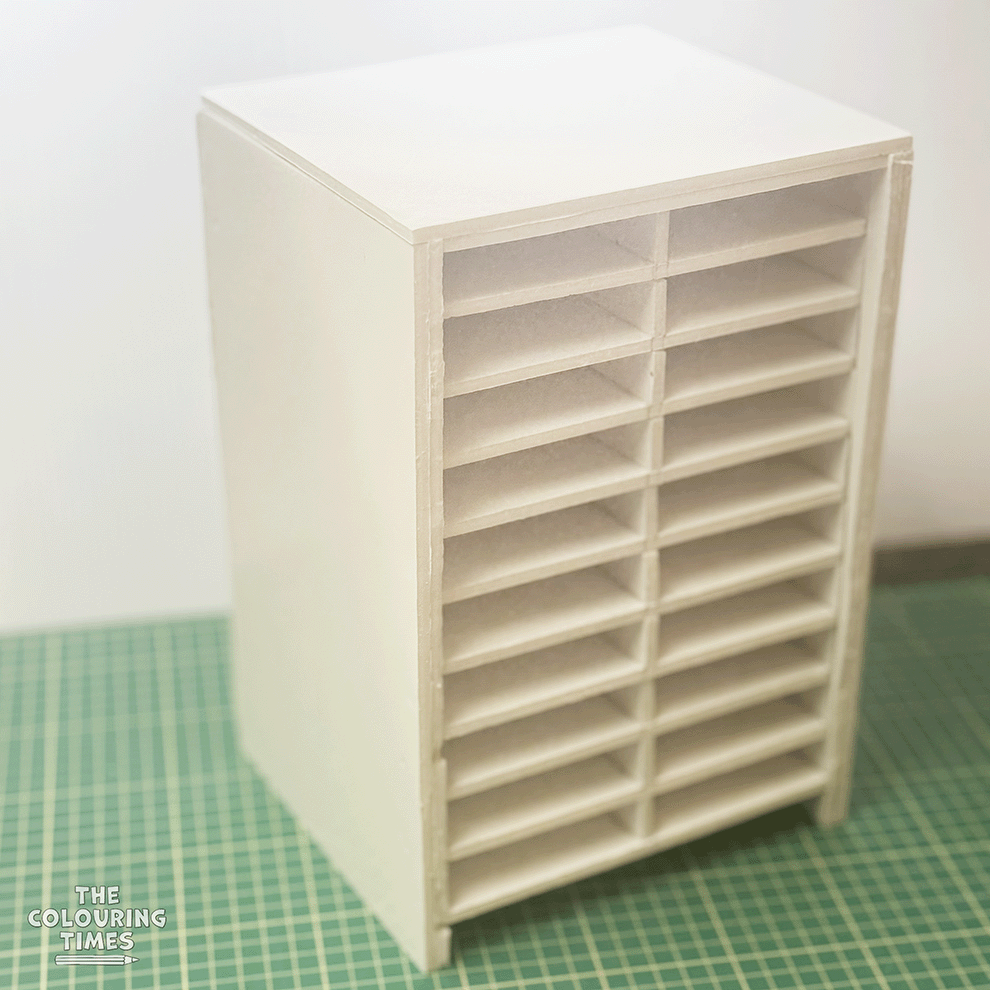

5. Apply Finishing Tape
To complete your project with a polished look:
- Apply white tape (or any colour you prefer) to the all the borders, corners and exposed edges. I prefer a neutral tone because it keeps the focus on the markers and their hues, making easier to compare colours.
- Smooth it gently as you go to avoid bubbles or wrinkles.
- You can also use contact paper or decorative adhesive sheets if you want a coloured or patterned finish.
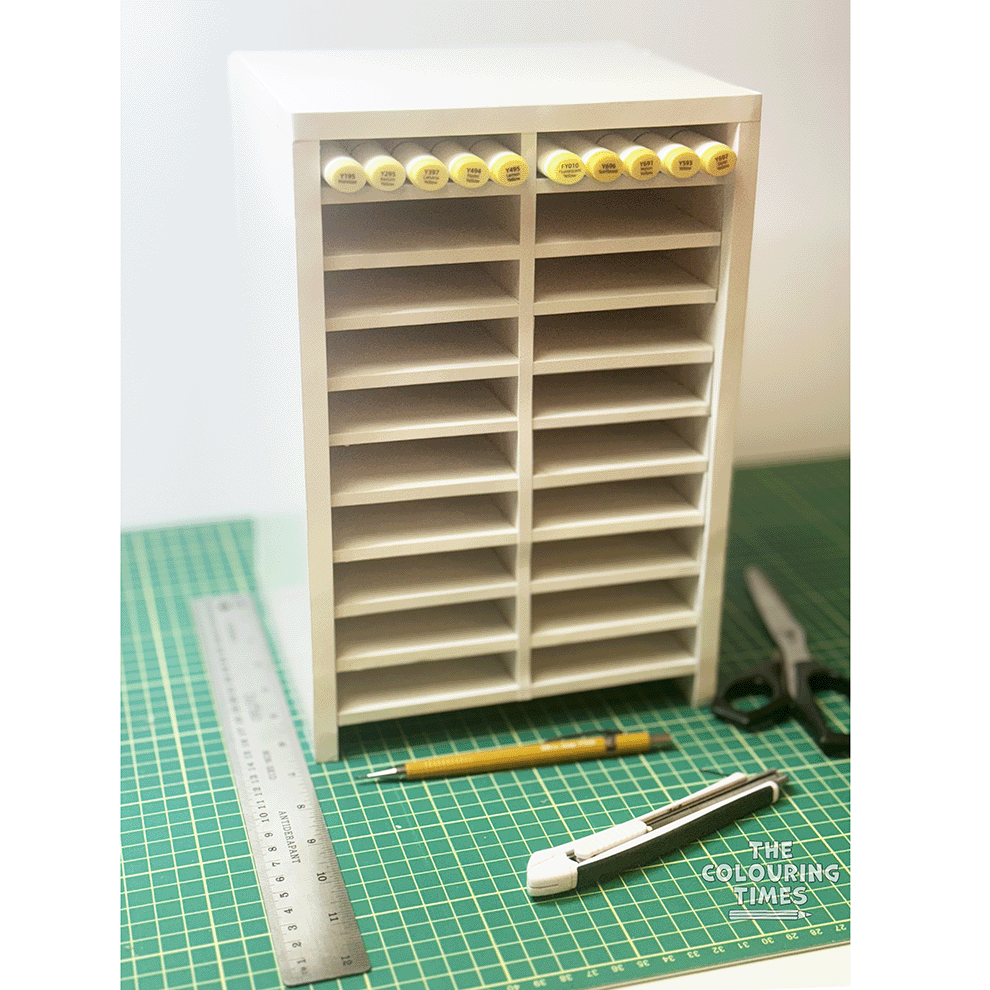
🩷 DYI Fun – Enjoy your creation!
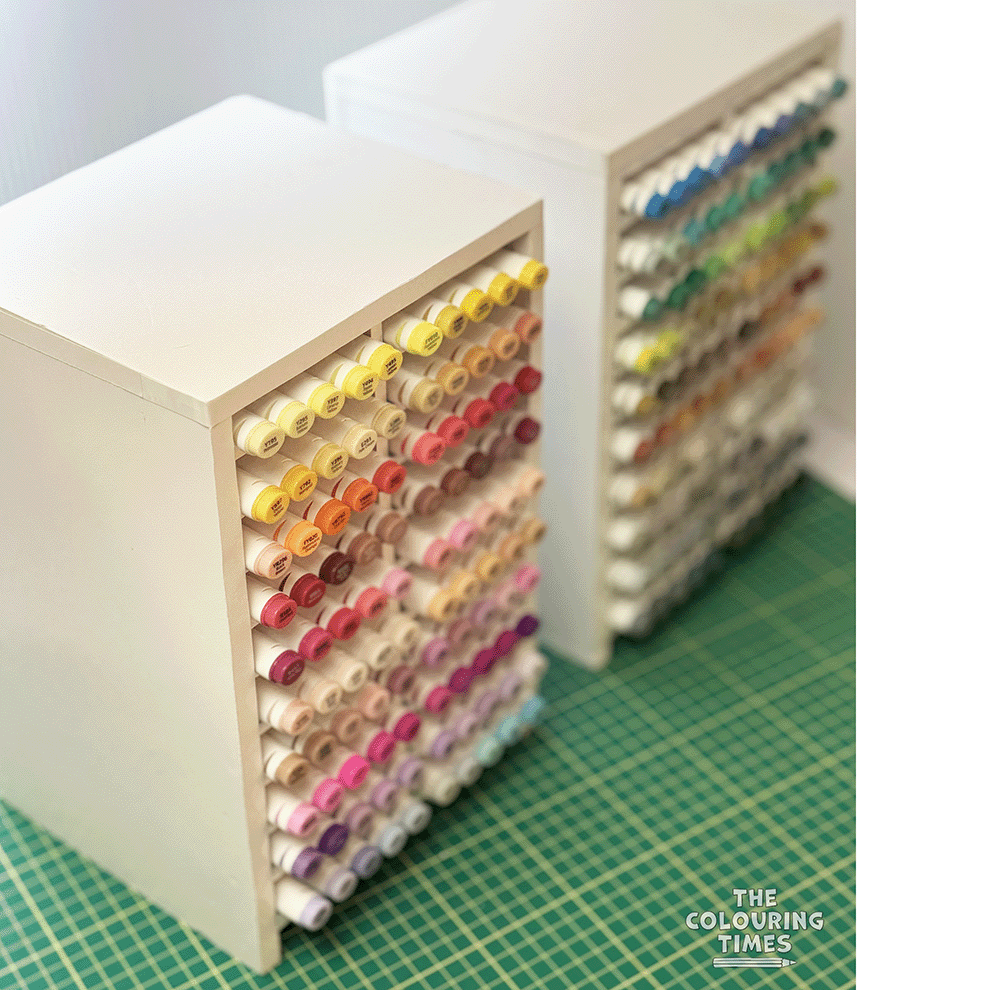
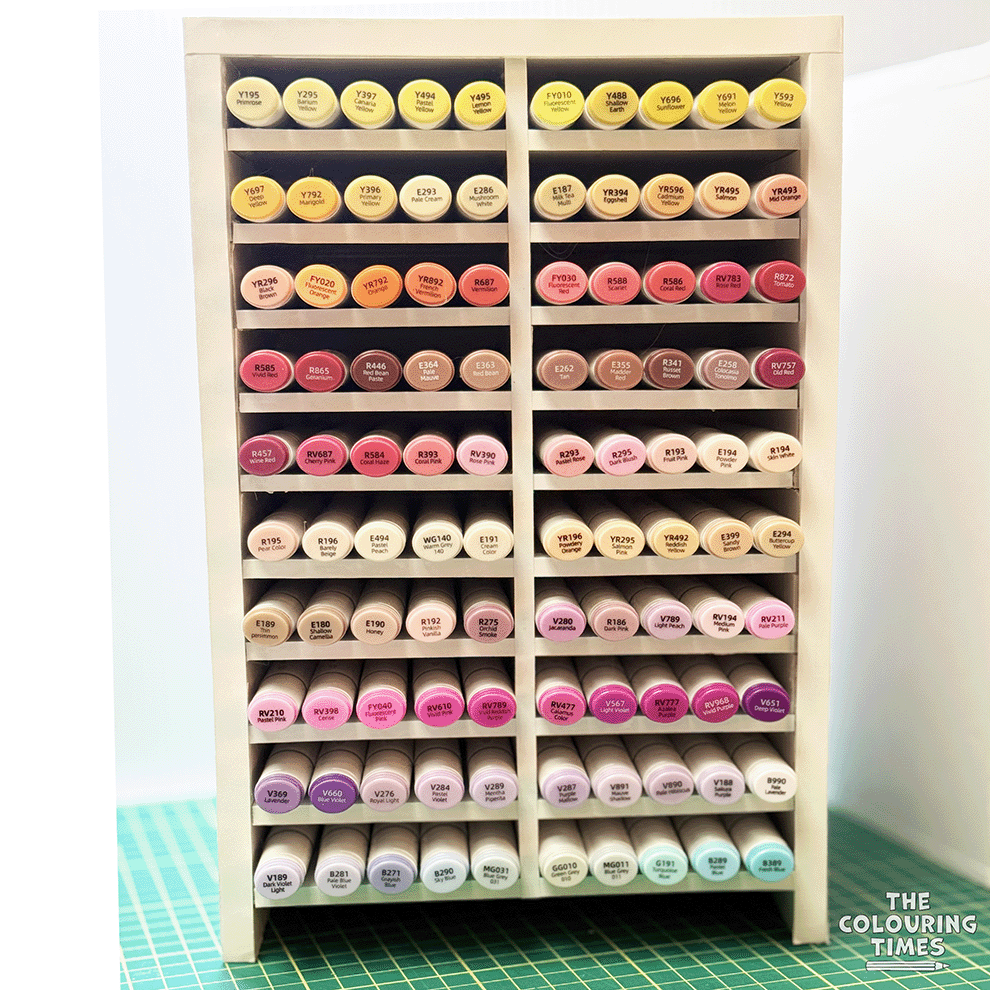
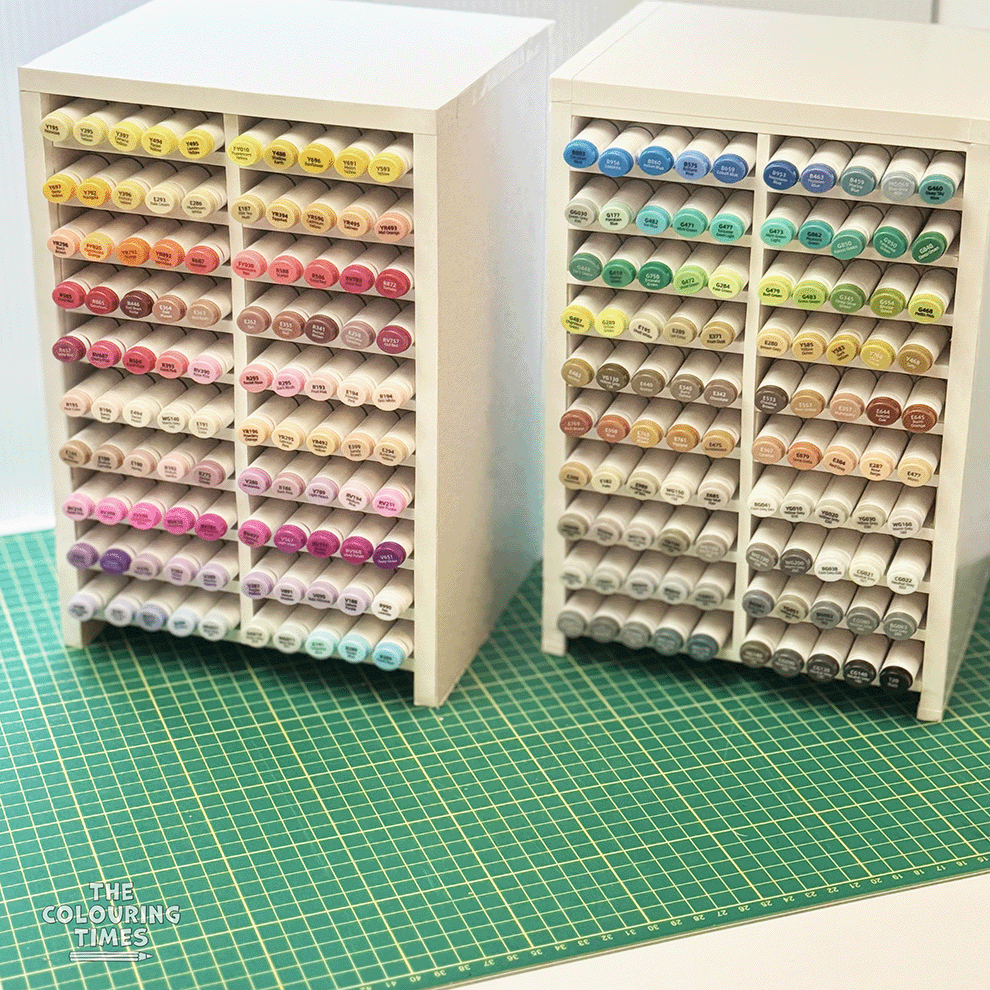
Photos are from my own organizer and markers, and from my process placing it all together. 🤩
I hope this DIY marker storage inspires you to build your own! It’s a satisfying little project — practical, creative, and affordable — that keeps your art space both tidy and inspiring.
You’ll find links to selected products — items I’ve personally researched and genuinely like. I include similar links in most of my posts to make it easier for readers to find good-quality materials.
That said, I always encourage you to look around first — check what tools or supplies you (or someone close to you) might already have on hand. Local exchange groups, garage sales, or craft swaps can be wonderful places to find what you need.
Reusing materials and giving tools a second life is a small but meaningful way we can all help reduce our impact on this planet — while still creating something beautiful with our hands. 🌿🌿🌿♻️✨
AMAZON ASSOCIATE CHOICE:
I’m an Audible fan, and listening to books has become one of my favorite parts of the day. I enjoy audiobooks because I don’t always have time to read as much as I’d like. They help me stay focused during certain tasks and also help me unwind before sleep. I especially enjoy light-hearted adventures and whimsical fantasy — they brighten my mood, carrying me into enchanted worlds at the end of a busy day.
I invite you to step into The Chronicles of Narnia Complete Audio Collection and let your imagination roam free! Listening to this epic tale is embarking on a quest full of magic, courage, and wonder. Created by C. S. Lewis — the lifelong friend of J. R. R. Tolkien — this timeless classic continues to win the hearts of kids and adults around the world.

Enjoy this Audible Promotion and pay only $0.99 for the first 3 months! Link valid until December 16, 2025


Hello Reader! I’m an Amazon Associate. The links in my blog are sponsored. They connect you to products I’ve personally selected for their value. Your clicks on these links help to support my work. Thank you!🤗
Faber-Castell Colouring Pencils Sparkle Pastel Set 12 Metal Case – Made in Germany